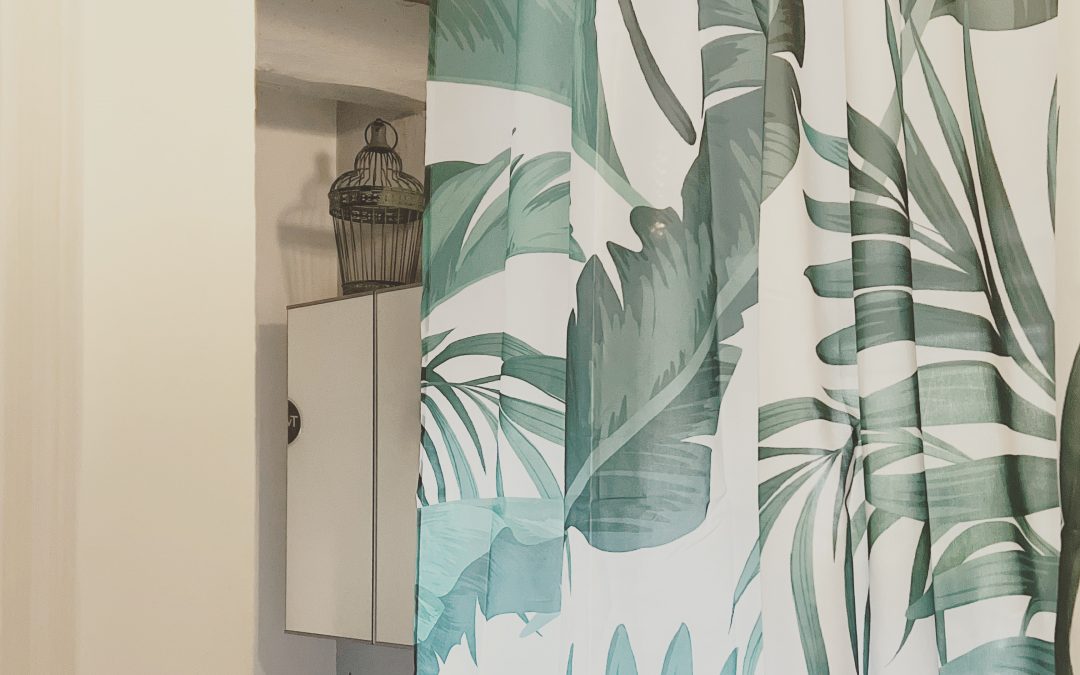
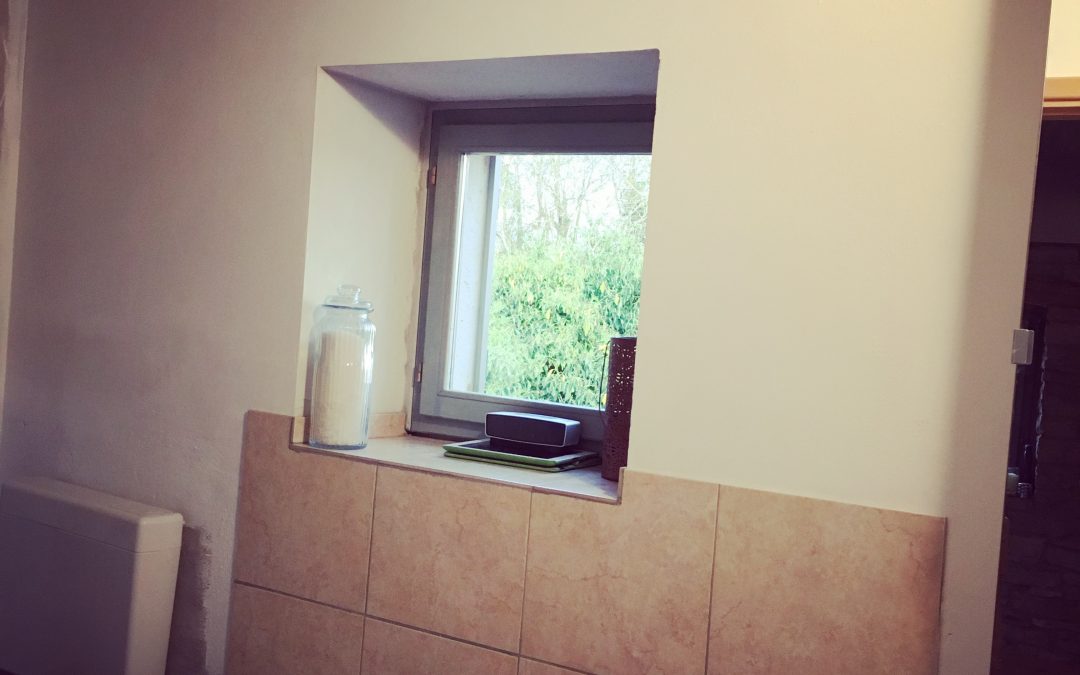
upstairs bathroom reno : update 3
Literally everything – with the exception of the toilet pedestal, as this was actually quite new – was ripped out and skipped. Apart from the teeny bath which far too small for bathing, but pretty much the perfect size for a re-spray and used as a planter in the garden. That awful lino flooring – which we’d painted early on, as that colour is just vile – was the first thing to come up. It had been stuck on with industrial strength glue, and took a good while to get up. The boards were also sanded back, once the lino was removed.
With the cheap, ill-fitting, plastic bath panel removed, we began to get an idea of what the room could look like, as with the sanded floorboards, it immediately felt lighter, brighter and more spacious. Once the bath and sink were removed, everything felt so much better.
We ditched the idea of relocating the bath, opting instead for a full size one, which would sit under the window, along the length of the wall. This meant we didn’t have to relocate pipework etc, making the job a whole easier and a whole lot less expensive. We chose white sanitary ware, as we were retaining the white toilet and didn’t want to go for a colour, which would potentially minimise the feeling of space we had gained. The bath and the sink were not matching, but both were quite boxy in style and so complemented one another – and the white and chrome taps, push down plugs and shower connection tied the two together.
The new sink was much larger, and therefore heavier than the previous sink, so not wanting it to stand on a vanity unit type of arrangement, we had to come up with a solution. Having made the recess which the sink sits in, feel more spacious, despite it being bigger, we didn’t want it all to feel closed in again, and came up with a very simple idea, to support it.
Table legs, secured to the underside of the sink and the floor. Perfect…
The tiles around the sink (which we had previously painted) and the bath, were taken off, the intention being to replace with metro tiles. However, we’d set ourselves the £500 Bathroom Challenge and tiles like this, would have taken us over the budget. So, another decision was taken – which we knew might have to change in the future – and we painted the tiles white and re-grouted. We’re still taking a view on these, but they look a lot smarter than they were, when they a sickly beige colour.
We were still a bit undecided about what to do with the flooring, as there wasn’t so much to cover and potentially we could spend a little more on its finish. But, we quite liked the sanded boards. But, we also quite liked the idea of painting it in a high gloss white, so that the whole room was very light and bright. We did also have the white paint, so that would cut down on expenditure. Decisions, decisions…
Before we made the choice on the floor finish, the wooden beams were undercoated and painted. Not white this time, though – that’s the undercoat going on above – because we felt that they would just disappear into the white ceiling. So, having plenty of soft grey satinwood, that was our decision made, for the beams.

First coat of soft, grey satinwood applied. One more to go…
We still had to replace the bath panel – and having forgotten to source one when we bought the bath, we got creative, as we definitely want to go over the £500 challenge. A spare pack of laminate flooring that had been used in the kitchen was remembered, and the panels were cut to size and fixed around the bath frame. This helped us make the decision about the floor – the laminate panels were quite rough in design. A bit too close to the appearance of the floorboards but sufficiently different for them to clash, so we decided to go white.

The luxury of finally filling a large bath…