kitchen reno : update 6

kitchen reno : update 6

Oh, didn’t I just end the last renovation blog post on a bit of a high? Loving that the undercoating was about to start in the kitchen, meaning we could almost, but not quite, see the finishing line. Well, the undercoating did start, but we fell at the first hurdle…
Our house seems to be full of tins of paint. Some bought here, so in terms of the kindof paint, often incomprehensible Croatian or Slovenian. The kind of paint where we have to rely on the linguistic skills of people in the DIY store. We also have paint that we brought back from England after Christmas. You can’t buy Farrow & Ball here – the nearest stockist that I’ve found is in Treviso, so a bit of a trip for a tin of paint. However beautiful it is. So, we have tins of floor paint and paint for walls and undercoat, a lot of having been mixed here. Being a bit disorganised, we didn’t think to carefully label the paints as we went along, and so you can probably what’s coming next. Yes, the undercoat, which we gave to Misko, and which he kept saying was a bit unusual, turned out not to be the undercoat after all. And, the realisation slowly dawned on me…In the paint buying flurry back in England, we’d competely forgotten to buy undercoat for the walls, and so what was being rollered on the ceiling, was undercoat for the floor. That’s right – a lovely, silky undercoat, meant for wood or metal. The wise words of Misko – “This doesn’t look right, Helen…

The wrong kinda paint...

The wrong kinda paint…

The next dawning realisation, was that he’d have to continue painting the ceiling with the wrong paint, so that at least it’d be wrong in a uniform kind of way. Then, let it dry, sand and start again. We gave Misko a very big beer 😉

One day on, and thankfully, the situation has been rectified. The right undercoat was bought and has now been applied, giving an idea of what our beautiful new kitchen might look like when the Farrow & Ball Hague Blue is finally applied.

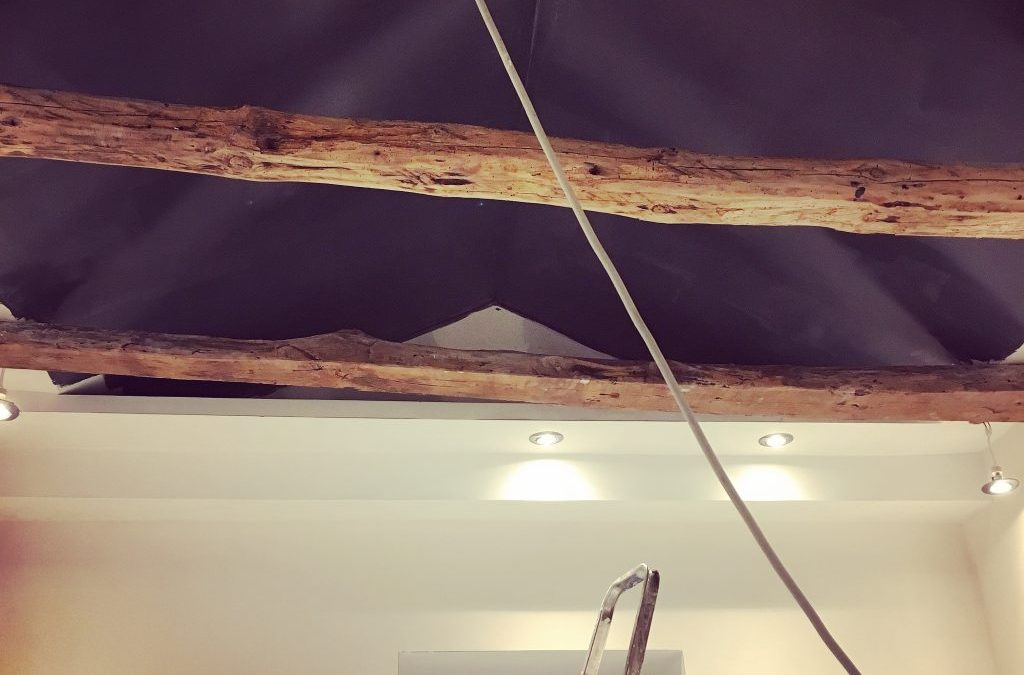
Dark undercoat finally applied...

Dark undercoat finally applied…

While the kitchen is being finished, the next room renovation is beginning – the small bathroom which adjoins the Well Room. This is starting to be ripped out, in preparation for a complete renovation, which will involve re-configuring the layout we’ve inherited, so that the space is better used. It’s odd to think that our new bathroom is inside all of these boxes, ready & waiting…

New bathroom...

New bathroom…

The ripping out of the downstairs bathroom begins...

The ripping out of the downstairs bathroom begins…

No going back...

No going back…

So now we're renovating two rooms at the same time...

So now we’re renovating two rooms at the same time…

Meanwhile, while the builders work, we’ve not been idle. With better weather and lighter evenings, the push to get the shutters finished has intensified. The Well Room is back to being a Shutter Hospital as we try and restore each one. It’s a very slow process, but we’re seeing progress as we start to get them back up.

Shutter hospital...

Shutter hospital…


kitchen reno : update 5

kitchen reno : update 5

We think we are now on the final hurdle, kitchen renovation wise. It seems like we’ve been living forever without a decent working kitchen we can call our own – in fact, since we sold our house in West Didsbury, back in January 2017, we’ve been making do in the kitchen area. The one we inherited in this house was pretty awful and so we were glad to see the back of it, last October. But now that we’re halfway through March, we’re definitely ready to be cooking up a storm in a brand new space. The last renovation blog shows what we’ve been up to and where we are now.

It’s been really interesting to watch the plastering process going on. This hasn’t been a case of just doing one layer of plaster – oh no, it has been like watching a work of art developing, as fine layers are applied and skimmed and sanded, a number of times. And, then when we thought all looked perfect, a huge light was brought in and every inch of the plastered walls were illuminated so that every imperfection could be sanded away. I think we must have the smoothest walls in Croatia! A sealant has been applied and the next stage is the undercoating of the walls – and then the underfloor heating is installed before the new flooring is laid.

Underfloor heating being finally installed...

Underfloor heating being finally installed…

It’s great to finally be seeing the semblance of a room beginning to emerge. And you never know, we may actually have kitchen units and appliances fitted some day soon…


kitchen reno : update 4

kitchen reno : update 4

It’s the weekend, but that doesn’t stop our builders. Give them their due, there’s some work ethic being displayed here! We *think* that the major drilling work might be over for this phase of the house renovation, so whilst Misko & Edin got on with the cabling and first plastering of the ceiling, we were finally able to begin the process of cleaning up a little bit. By Saturday evening, we actually had a living-room, of sorts, back…

A little bit of living room comfort...

A little bit of living room comfort…

The Manchester Bees are back...

The Manchester Bees are back…

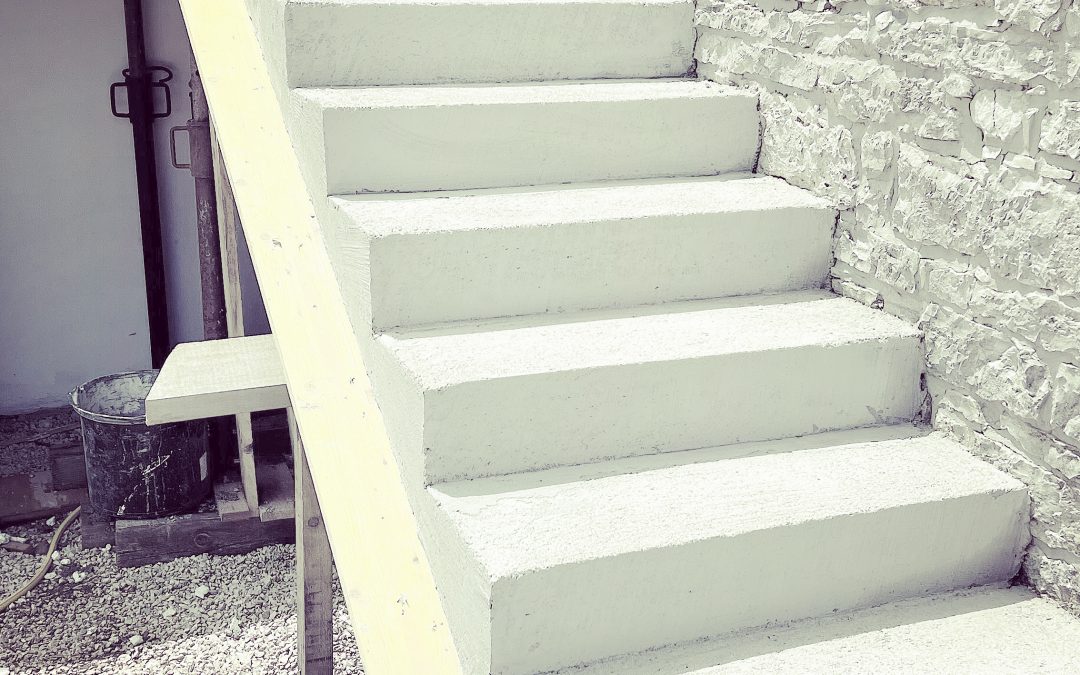
Although it mightn’t look it, this has been a weekend of progress. The pipes, casing the new wiring, have all been plastered in, as have the new water pipes. The new step is in and the concrete has been laid on the floor. Tomorrow, the exciting stuff starts to begin, with the plastering of the walls and the laying of the underfloor heating. We think it’ll still be a week or so before the kitchen itself is installed, but at least it’s taking on the shape of a room again, rather than a construction site.

New electrical piping. IN...

New electrical piping. IN…

New water piping. IN...

New water piping. IN…

New kitchen step - and addition cabling - piping. IN...

New kitchen step – and addition cabling – piping. IN…

Meanwhile, we’ve also been busy, with a bit more DIY work going on in the main bedroom. The new ebony stained floor looks amazing, and we’ve taken things a step further by staining the light bed frame to match.

Finally the colour we imagined...

Finally the colour we imagined…

Upcycling the bed frame...

Upcycling the bed frame…

Ebony floor and bed frame...

Ebony floor and bed frame…

Details: velvet peacock feather cushions

Details: velvet peacock feather cushions

A haven away from the building work...

A haven away from the building work…

A haven away from the building work. At times like these, throws, furs and cushions are important...

A haven away from the building work. At times like these, throws, furs and cushions are important…

Still a long way to go on this bedroom, but it’s looking a whole lot nicer than when we first moved in. Next up is new lighting, painting of the beams. building storage space inside a big recess and sourcing Moroccan style doors. Oh, and hopefully, the best bit. A free-standing bath! All coming up…

kitchen reno : update 2

kitchen reno : update 2

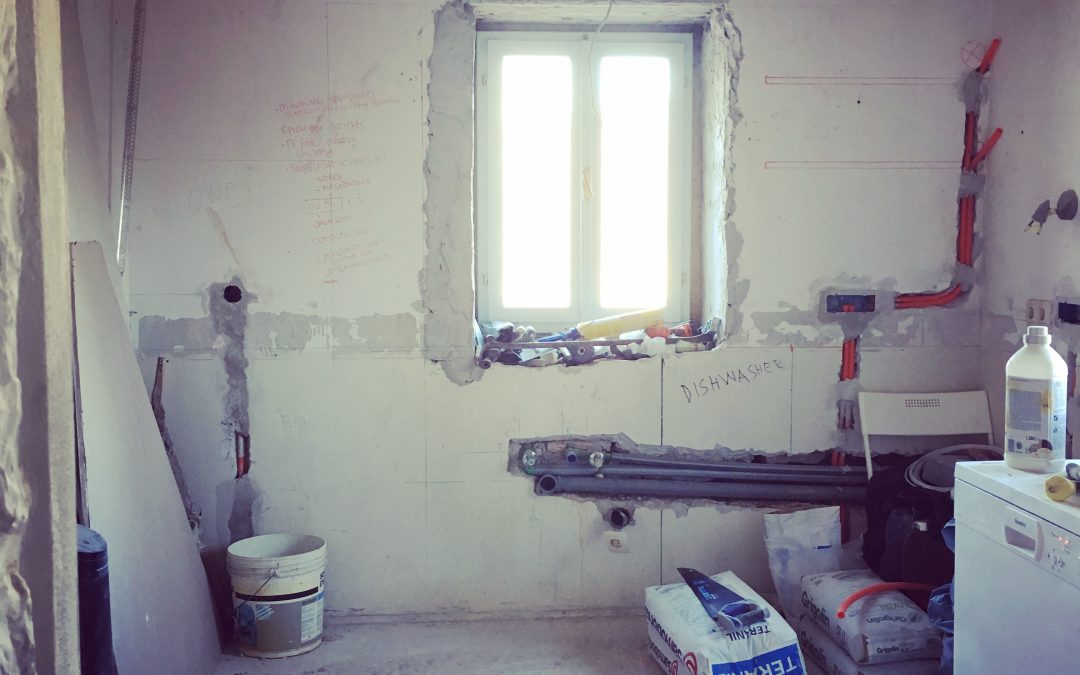
During December we left the house in the hands of Misko and Sergio, the plan being for them to get as much of the dirty work done in the kitchen as possible while we were away. Although they kept in contact regularly and sent photos of progress, we quickly realised that they weren’t going to be as far on as we’d all hoped, on our return. Even though we’d discussed in detail where sockets and switches were to go etc, unexpected things obviously turn up – and when you are in a different country it’s hard to make decisions based on these new factors. The main problem experienced was the beams. We had originally wanted these to be covered with plasterboard and eventually plastered and painted, giving us a very linear look to the new ceiling. However, the beams are very old, the house is very old – and as happens with old things, nothing is ever straight. To achieve the look we wanted, the “boxes” around the beams would have had to have been much bigger than we originally thought and just wouldn’t have looked right. We can see the problem now that we are back, but trying to resolve this over the phone, just wasn’t working, as we couldn’t see the problem. So, we arrived back last Friday at 9pm – and to our surprise, our builder and plasterer were still working. Think about that. 9pm. On a Friday night!

Next morning, in daylight, we got to assess progress. The exposed original ceiling had been boarded out, and tubing had been installed for the new wiring. The new window, and its beautiful cream stone exterior lintels, were also in – and it looks a thing of beauty! You can see to the right of the new window where there had been an original small window. The new window is actually where a big fireplace had once stood, explaining why it looks a little off centre. If we’d opened it up to the size of the fireplace, it would have been central, but huge and that would have meant we’d have had to have had a new window made. We figured that the whole house is irregular, because of the stone construction, and so a little more irregularity didn’t really matter.  We’d also forgotten how much chaos and dirt and dust is created – so our first day back was spent trying to restore some order…

Filth & chaos - time to get some order back, as we're still going to be trying to live in this...

Filth & chaos – time to get some order back, as we’re still going to be trying to live in this…

Progress : boarding out the original ceiling

Progress : boarding out the original ceiling

Now, a week later, much progress has been made, not least because we’re back on site and can now once again make decisions quickly. The biggest decision that’s been made is that we are leaving the beams exposed, apart from the one above the new window, which will be boarded out and house three of the dimmable ceiling spotlights. The rest of the beams have been treated for woodworm and these will be undercoated and then painted in a light matte grey. We got the paint for the walls and ceiling back in England, from Farrow & Ball, and brought it over with us – as the rest of the house is completely white, we decided to go dark in the kitchen. More of the colour choice later…

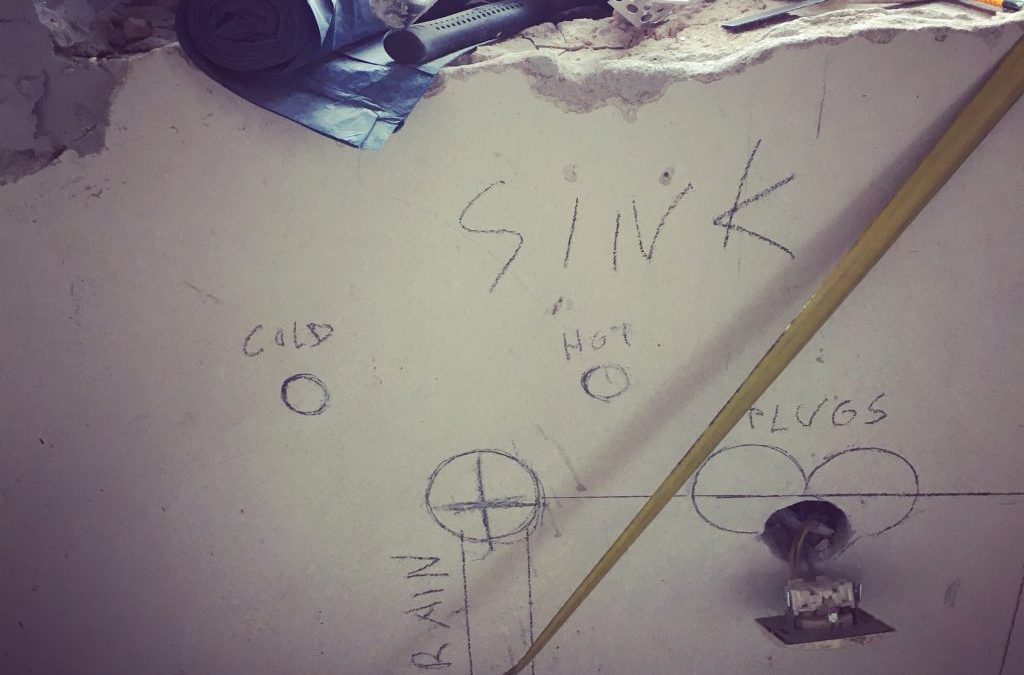
However, we’re a long way off painting just yet! Sockets and switches have been marked out, and lighting has been decided upon and marked out too. We’ll have dimmable spotlights around the edges of the ceiling, with a beautiful concrete pendant, which we brought over from England, and is still safely bubble-wrapped, above where we’ll have a breakfast bar. There will also be lighting under shelving and to the entrance to the kitchen, a new lighting feature which will hopefully be quite funky.

The flooring and underfloor heating (a necessity in our kitchen with thick stone walls, not a luxury) have been purchased and the floor tiles will be coming up this week. We’re expecting a lot more mess, as we need to drop the floor by 2cms, so that when the new units are fitted, the original kitchen window, which has never opened properly, will finally open. Now, that will be a luxury! The kitchen we’ve chosen has a concrete look & feel to it, and with set against dark walls, could be cold-looking, so we’ve opted for a warm looking floor. All very exciting, as we think this week will be the week when we start to see the real changes…

The style of kitchen we have ordered - although our design will be slightly different to fit into the space we have...

The style of kitchen we have ordered – although our design will be slightly different to fit into the space we have…

In the meantime, we’ve created enough order to once again have a working kitchen. It’s all moved into the Well Room (more of which in a later blog as we’re planning some big changes here!) and we think this will be more than sufficient for the next few weeks. And, we can finally cook, fairly dust free. Always a good thing.

Renovation kitchen. Who needs a new one?

Renovation kitchen. Who needs a new one?