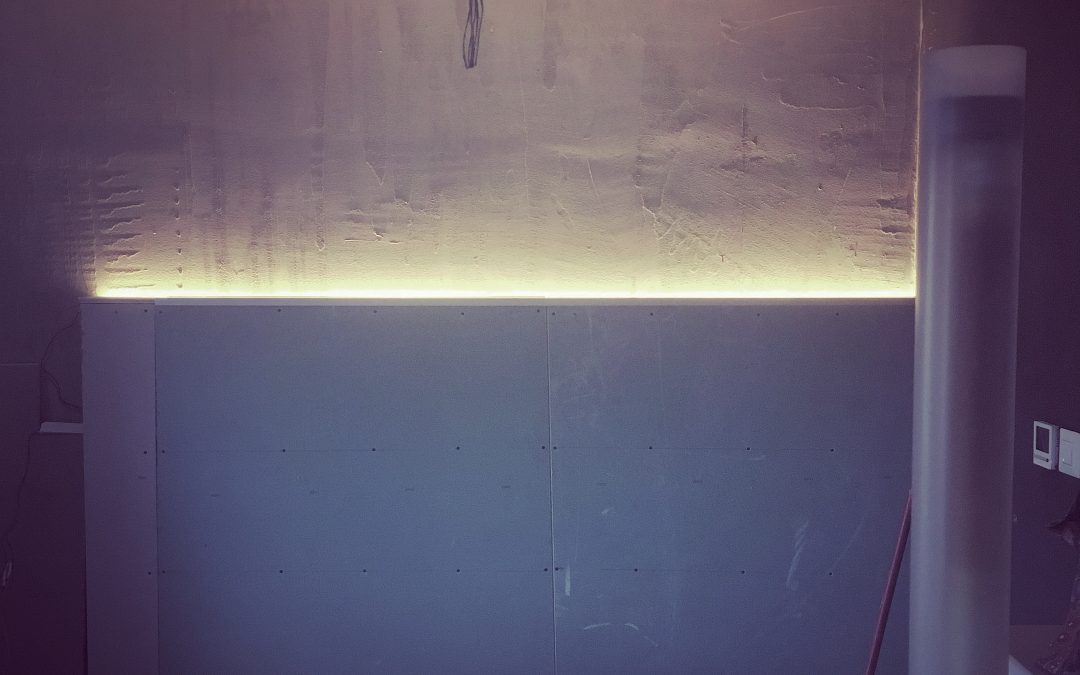
getting plastered…

getting plastered…

Original stone walls, partly exposed and partly plastered

Original stone walls, when we moved in, partly exposed and partly plastered.

Throughout the house, in most of the rooms – apart from the ones we have totally taken apart and renovated – there is still evidence of it being an original Istrian house. A lot of the walls are either fully plastered, or at least, partially. And where they are only partially plastered, we’ve painted the original stones white, so that the rooms have more of a contemporary feel.

Original stone walls, painted white.

Original stone walls, painted white.

We did start renovating the walls some years ago, when we had a false wall constructed in the Well Room, with insulation, over the stone wall. The intention was to go through the house, repeating the process, but as with all renovations, unexpected tasks always take precedence.

So, here we are, still where we were. Admittedly, not with bare stone, which I quickly started to dislike because it was dark and made the rooms feel cold, but even when whited out, still not really what I wanted. So, the decision has been made, and the plastering of the bulk of the remaining stone will be done over the winter. I say “the bulk”, because we will leave little nods to the origins of the house, here and there – but as features, rather than the predominant look.

The Well Room will hopefully be the first room to be tackled, as it’s the room with the most exposed stone. We’ll also be doing something quite controversial but more of that later, as we’re still working on the practicalities. Because none of our walls are straight, we’re going to hopefully go with the wonkiness of the house and not get caught up in, and stressed by, the fact we don’t live in a box. So the walls won’t be perfect – but the plastering will. And the next thought process is whether we go for plaster with a pigment, rather than doing a big re-paint job…

I do love the softness of the pink tones of this plasterwork, but we need to have a big discussion, as to whether this will work or not in our house. I’m prepared to accept it won’t, but definitely like the idea of having even just a chat about it. Whatever we decide is right, will be a real improvement on what we have at the moment, so looking forward to getting going and making some BIG changes in this room.


well room reno : update 4

well room reno : update 4

Recently, we’ve had our latest Workaway couple staying with us, Kaiti and David, a couple from Oklahoma. Like the other couples who’ve come to stay with us, they are on a sabbatical, travelling and working and embracing the cultural highlights of other countries. They came to us via Ireland, Portugal, Spain, Italy and southern Croatia and brought with them a healthy dose of mid-western American humour, friendship and many an interesting tale, hugely changing our recent perceptions of our neighbours across the pond.

If you’ve seen any of our other posts about WorkAway, you’ll have a fair idea of what it’s about. Basically, people travelling and would-be hosts join an online scheme. The “workers” showcase their skills and the “hosts” describe their project and if it all works out – as it has done so far for us – compatible workers and hosts communicate. The deal is that the people travelling agree to do tasks – we always clarify these in detail, in advance – in exchange for food and accommodation. Between us, we decided to focus on The Well Room, specifically the floor, as David has had experience of floor laying.

However, our floor is not a normal floor. Our builder has always put this job to the back of the queue – and we now absolutely understand why. There are a number of issues with it :

  • it is entirely made up of Istrian stone flags – all different sizes and different levels and different textures
  • the stones do not join the walls smoothly – there’s much undulation, let’s say
  • the glass cover of the well chamber is about 4cms high, but the stone step into the living room less, so somehow the difference would have be levelled
  • we want to try and preserve the stones as much as possible, as future owners may find this a real feature and want to once again reveal them

We looked at the potential cost of laying a new wooden floor and it started to become a bit more prohibitive than we had originally anticipated. There was also the issue of fixing the batons to level the floor. Because of the uneveness of the flags, the batons would have had to be cut to various sizes to ensure that the boarding, onto which the flooring would be fixed, would be level. A bit of a nightmare in itself, which would have required mathematical precision. And, time. Time which we didn’t really have as Kaiti and David weren’t with us for that long. Then we considered laying self-levelling concrete – sounded like a solution until we quickly realised that this should probably have been done way back, when the house was still a building site. Not when it was 95% complete. And definitely not when we had people staying as the room would effectively been out of action meaning no access to the kitchen or downstairs bathroom. Next solution we considered was coir carpet. This would have worked well in this room, but the same problems were still there, specifically the uneven base. And, where on earth would we have sourced coir here? Doable, but not in this WorkAway timeframe.

Suddenly, we realised that we were overthinking the floor situation, and we had the lightbulb moment. Back to the start… *PAINT* Yes, masonry paint. How much easier could the solution actually be? 5 litres of navy blue mixed and the floor covering was solved 🙂 However, before the floor was painted, another job was tackled – the concrete table. We’ve never found a suitable finish for this table and so it’s never been quite there.  The plinth has also been left unfinished as we were waiting to make the decision on the floor.

The dual issues with the concrete table and the floor can easily be seen in the photo above. The table plinth is still rough and unfinished and the top of the table is still too powdery, not having ever been treated properly. The floor is effectively like an outdoor patio – uneven and cold. And, you can see the height of the glass cover, which we now also need to take into consideration with any floor we lay. However, once the paint option was decided upon, we figured we could now finish the table – and this was when David revealed another string to his bow. He works with RESIN! So, without further ado, a trip to Koper was done and the resin tracked down – it’s much harder to source here, than you might imagine.

Armed with a blow torch, rubber gloves and the resin, David set about transforming the concrete table top – our timelapse video shows he set about it. We also bought wood, cut to size for the plinth – this was painted the same navy blue as the floor and silver profiles were sprayed gold, to finish off the edging.

The resin top was left for two days to ensure that it was completely hardened – and wow, what a difference! Because we’d used other varnishes and finishes on the table, and had sanded it a few times, the overall effect is quite marbley, rather than grey polished concrete. Definitely not what we expected, but the resin has highlighted the colours in the concrete and it is just so beautiful. In places, it looks as if specks of gold have been scattered. Just stunning…

Once the resin had been applied, and dried, the floor was painted. Why we haven’t done this previously, is beyond me! The results are amazing and now the Well Room feels like a room. A proper, finished room.

The final touch will be another couple of big chunky blue rugs to soften the floor and add warmth to the room. Not so long ago the Well Room was a storage room for builders’ tools and general mess. Now, it feels a very luxurious, warm room, with the deep navy colour scheme and touches of gold. The high gloss table top complements the well chamber when it’s lit up, and the soft uplighting on the back wall adds to the ambience. We’re now looking forward to cosy autumn evenings, with the thick navy velvet curtains drawn, and being able to finally sit down and eat at our concrete table.

If you, or someone you know, fancies doing what we did and making the move to a place in the sun (well, mostly…), get in touch. Having now largely renovated the house, we think we’ve found our next doer-upper and so have started the process of marketing out Istrian stone house. It will be being listed on property websites, but in the meantime, have a sneak peek at the website we’ve designed. And if you’re interested, drop us a line…


well room reno : update 3

well room reno : update 3

If there’s one thing that is consistent about The Well Room is that it is constantly in a state of renovation. Even when it *seems* as if it’s a room again, just off shot, is reno chaos…
The problem with this room has a lot to do with what we now call it – The Well Room. When we bought the house (and for a good few months), we had an internal stone well, slap bang in the middle of this room, with a deep, deep chamber where the rain water collected. It had been a working well, but as the house is connected to mains water, the function of it became pretty redundant. Nearly a year ago, the actual overground stone well was relocated to outside the front door and the chamber drained. A reinforced glass well cover has been on order for, forever. But we are in Croatia, so this is perfectly normal. Other parts of the house take precedence too, as need arises and so we never, ever seem to complete this room.

The other issue is that the front door opens straight into it, and so as work is being done around the house, this is the “messy room”. The one that always has the dirty floor when it rains – the floor is still the original stone so we don’t mind this too much at the moment, but it doesn’t lend itself to being overly comfy. Or warm. The window surrounds and cills need to be treated and fixed. The temporary well cover replaced. A wood burner fitted. A new wooden floor laid. But none of this can really be done whilst there’s still a lot of renovation work going on in the room, so we just chip and chip away.

Part of the recent chipping away, has been the sealing and insulation of one of the outer walls. This room is really cold in the winter – unsurprising with no heating (apart from our electric heaters and millions of candles) and a stone floor, single glazed & pretty ill-fitting windows and a front door which when open, brings in the elements. So, a false wall has been created, behind which is thick insulation. We’ve also taken the opportunity to sort out the “day bed” AKA the big lump of concrete in the corner of the room, which abuts this exterior wall. A false shelf, with very soft, integrated LED strip lighting, has been built. This is all in-situ, and now just waiting for the final plastering and painting. It’s looking like this, currently…

Had to to do a little bit of accessorising just to feel a bit more "normal"...

Had to to do a little bit of accessorising just to feel a bit more “normal”…


…but hopefully, by this time next week, will look quite considerably better!

We’re also taking the opportunity to final get up our beautiful white concrete light bulb pendant shades, bought from Moth in West Didsbury, when we renovated our last house. They are very delicate and very pretty and I’ve just been waiting to find *the* place to have them installed. Now that we have our LED shelf lighting and the same lighting on the steps going up into the kitchen from The Well Room, they will work perfectly, on a dimmer, in a line above the concrete dining table. Which might soon be used for its intended purpose, rather than a tool storage!

We’ve asked that the concrete shades are connected by exposed cables, so that they can hang at different heights above the table – and I, for one, cannot wait for these beauties, last seen in Arley Avenue, to be out of storage.

Concrete pendant light bulbs from Moth, West Didsbury...

Concrete pendant light bulbs from Moth, West Didsbury…


well room reno : update 2

well room reno : update 2

As autumn gives way to winter, we decided recently that our windows are now going to be our focus. How all were going to be sealed and no more draughts would sneak in. Yes, yes – it’s all still ongoing, but as ever, we guesstimated how much seal we’d need. And guess what? We under-guesstimated. So, until we can get some more, we’re cracking on with the next bit of vital renovation to keep us much warmer than last winter.

Over the summer, we created a “day-bed”, using the concrete block which sits in The Well Room, abutting one of the external walls. We’d been led to believe that this was where the filtration magic happened with the well. But this has been debunked, as a bit of investigation from our builder revealed that this was no sophisticated filtration system, it was a great big hole filled with soil and building debris. Never mind though, we could still make something of it, and as you might know, I have a bit of an overspill of cushions and throws…

However, The Well Room is still a work in progress – wooden flooring to be laid, new front door, windows, woodburner to be fitted, TV to be fitted, concrete table to be finished – and so we don’t routinely use this room at the moment. And so didn’t notice the salt ingress, and patches of dusty damp, behind the cushions, until I moved them this week, to paint the wall into the bathroom. It’s serious when my cushions get damp, so remedial action was required. We had a nice looking Well Room, with one painted statement wall – the same as in the living room – for one night.

It’s all back to chaos now though! The offending wall has been treated with a sealant, usually used in swimming pools, and today insulation tiles have started to be applied. Once these are all in place, a hard mesh will cover them and then the wall will be plastered. We’re taking the opportunity to create a false ledge, into which lighting will be fitted, so that when it’s all finished, not only will this area be sealed and dry, but it will also be a whole lot more comfortable and stylish. The only problem now, is that I am imagining ALL of the stone walls being treated in this way. And imagining a day when we have smooth internal walls…

The swimming pool sealant is applied. And, in a pleasing colour, matching the newly painted wall to the right…

The swimming pool sealant is applied. And, in a pleasing colour, matching the newly painted wall to the right…

Next phase : foam insulation tiles are applied and the gap between tiles and wall filled with expandable foam

Next phase : foam insulation tiles are applied and the gap between tiles and wall filled with expandable foam…

This is where we’re up to today. Our builder returns tomorrow to finish the wall of insulation tiles, before the mesh is attached and the plastering done. Gyproc (plasterboard) will then be installed, with the creation of a ledge, at the height of the bottom left tile, with lighting. Still working out if this will be of the dimmable LED strip variety or dimmable uplit spots. Whichever, we’ll be so much happier with the new arrangement, which to be fair, on Sunday evening, we hadn’t even considered. Such is life when you are renovating an old stone house in Istria.