concrete table

concrete table

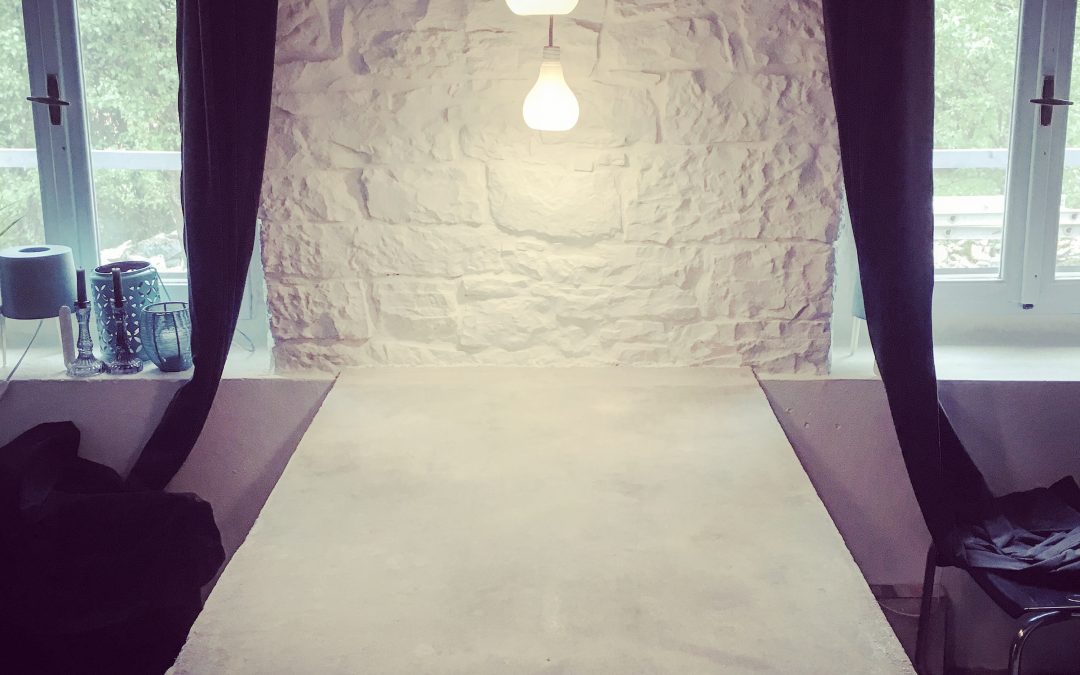
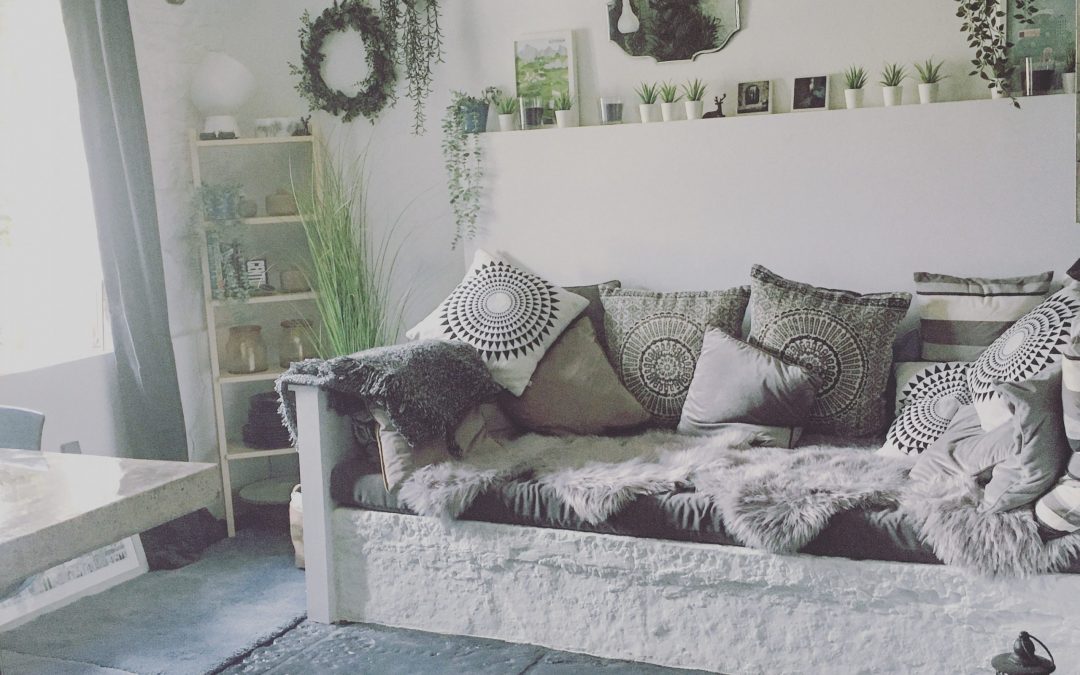
When we lived in West Didsbury, we renovated our three bedroom terraced house, knocking down internal walls, and eventually creating a very contemporary, open plan home, which included a large L-shaped concrete bench, with storage underneath.

When we bought our house in Istria and set about renovating it, one of the things we were sure about, was that we wanted another concrete table, to sit in The Well Room, under the windows, just where the cabinet, with our West Didsbury mosaic sits, in the photo below.

The builder who was working with us on the house, in between other jobs which we regularly threw at him, got on with the job of creating our concrete table, in The Well Room, which was also, at the time, doubling as a kitchen. As a new kitchen was also being built at the same time.

We did toy with the idea of not having the plinth underneath, and leaving the table “suspended”, but as one of the other jobs was to expose the well chamber and cover it in safety glass (and illuminate the chamber), we felt that the combination of a table hanging over a 10 metre drop, might freak some people out, so we decided to go along the Health & Safety route. Polished up, the beautiful grey concrete table top did look very smart…

We had a period of time, pre-Covid, when we hosted Workaway guests. Kaiti and David, from Ohio, worked on few projects with us, and when David told us he had worked with resin before, our interest was piqued when he said he could do this treatment on the concrete table. It wasn’t a cheap job, as resin is expensive, but we liked the sound of how it could look. And, to be fair, I did love the finish, with its hard, hard sheen – just maybe not the way it changed the colour from a gorgeous light grey, to a mottled bronze. I think if we had thought about this more carefully, we’d have invested the time and money in having it polished to perfection, but hey, you live and learn. The plinth was painted dark navy, to match the floor, and a brushed gold trim was fitted, to complement the new look of the top. At the time, all seemed to fit together, as we were introducing dark navy colours and gold accents.

As we’ve started to re-transform the house, the table has started to bug me. It’s not really what I envisaged and even covering it up with runners etc wasn’t working. We investigated having the resin removed – prohibitively expensive. Then investigated painting it – after much googling and speaking to specialist paint supplier, we discounted this as we didn’t think we’d ever get the finish we wanted. So, the decision was made to have it taken out and rebuilt in the garden, where the finish wouldn’t bother me as much. But, as often happens, you just sometimes have a light bulb moment and decide to try something – if it didn’t work we’d already decided it was going outside.

So, what was this light bulb moment? White undercoat and a few coats of white matte paint, rollered on carefully…

An unbelievable result! Hard wearing and durable, there’s no way this beaut is now being consigned to the garden. With new wooden benches either side, and now set against a white floor and newly painted white walls and white woodwork, the concrete table has had a new lease of life…


well room reno : update 4

well room reno : update 4

Recently, we’ve had our latest Workaway couple staying with us, Kaiti and David, a couple from Oklahoma. Like the other couples who’ve come to stay with us, they are on a sabbatical, travelling and working and embracing the cultural highlights of other countries. They came to us via Ireland, Portugal, Spain, Italy and southern Croatia and brought with them a healthy dose of mid-western American humour, friendship and many an interesting tale, hugely changing our recent perceptions of our neighbours across the pond.

If you’ve seen any of our other posts about WorkAway, you’ll have a fair idea of what it’s about. Basically, people travelling and would-be hosts join an online scheme. The “workers” showcase their skills and the “hosts” describe their project and if it all works out – as it has done so far for us – compatible workers and hosts communicate. The deal is that the people travelling agree to do tasks – we always clarify these in detail, in advance – in exchange for food and accommodation. Between us, we decided to focus on The Well Room, specifically the floor, as David has had experience of floor laying.

However, our floor is not a normal floor. Our builder has always put this job to the back of the queue – and we now absolutely understand why. There are a number of issues with it :

  • it is entirely made up of Istrian stone flags – all different sizes and different levels and different textures
  • the stones do not join the walls smoothly – there’s much undulation, let’s say
  • the glass cover of the well chamber is about 4cms high, but the stone step into the living room less, so somehow the difference would have be levelled
  • we want to try and preserve the stones as much as possible, as future owners may find this a real feature and want to once again reveal them

We looked at the potential cost of laying a new wooden floor and it started to become a bit more prohibitive than we had originally anticipated. There was also the issue of fixing the batons to level the floor. Because of the uneveness of the flags, the batons would have had to be cut to various sizes to ensure that the boarding, onto which the flooring would be fixed, would be level. A bit of a nightmare in itself, which would have required mathematical precision. And, time. Time which we didn’t really have as Kaiti and David weren’t with us for that long. Then we considered laying self-levelling concrete – sounded like a solution until we quickly realised that this should probably have been done way back, when the house was still a building site. Not when it was 95% complete. And definitely not when we had people staying as the room would effectively been out of action meaning no access to the kitchen or downstairs bathroom. Next solution we considered was coir carpet. This would have worked well in this room, but the same problems were still there, specifically the uneven base. And, where on earth would we have sourced coir here? Doable, but not in this WorkAway timeframe.

Suddenly, we realised that we were overthinking the floor situation, and we had the lightbulb moment. Back to the start… *PAINT* Yes, masonry paint. How much easier could the solution actually be? 5 litres of navy blue mixed and the floor covering was solved 🙂 However, before the floor was painted, another job was tackled – the concrete table. We’ve never found a suitable finish for this table and so it’s never been quite there.  The plinth has also been left unfinished as we were waiting to make the decision on the floor.

The dual issues with the concrete table and the floor can easily be seen in the photo above. The table plinth is still rough and unfinished and the top of the table is still too powdery, not having ever been treated properly. The floor is effectively like an outdoor patio – uneven and cold. And, you can see the height of the glass cover, which we now also need to take into consideration with any floor we lay. However, once the paint option was decided upon, we figured we could now finish the table – and this was when David revealed another string to his bow. He works with RESIN! So, without further ado, a trip to Koper was done and the resin tracked down – it’s much harder to source here, than you might imagine.

Armed with a blow torch, rubber gloves and the resin, David set about transforming the concrete table top – our timelapse video shows he set about it. We also bought wood, cut to size for the plinth – this was painted the same navy blue as the floor and silver profiles were sprayed gold, to finish off the edging.

The resin top was left for two days to ensure that it was completely hardened – and wow, what a difference! Because we’d used other varnishes and finishes on the table, and had sanded it a few times, the overall effect is quite marbley, rather than grey polished concrete. Definitely not what we expected, but the resin has highlighted the colours in the concrete and it is just so beautiful. In places, it looks as if specks of gold have been scattered. Just stunning…

Once the resin had been applied, and dried, the floor was painted. Why we haven’t done this previously, is beyond me! The results are amazing and now the Well Room feels like a room. A proper, finished room.

The final touch will be another couple of big chunky blue rugs to soften the floor and add warmth to the room. Not so long ago the Well Room was a storage room for builders’ tools and general mess. Now, it feels a very luxurious, warm room, with the deep navy colour scheme and touches of gold. The high gloss table top complements the well chamber when it’s lit up, and the soft uplighting on the back wall adds to the ambience. We’re now looking forward to cosy autumn evenings, with the thick navy velvet curtains drawn, and being able to finally sit down and eat at our concrete table.

If you, or someone you know, fancies doing what we did and making the move to a place in the sun (well, mostly…), get in touch. Having now largely renovated the house, we think we’ve found our next doer-upper and so have started the process of marketing out Istrian stone house. It will be being listed on property websites, but in the meantime, have a sneak peek at the website we’ve designed. And if you’re interested, drop us a line…


well room reno : update 1

well room reno : update 1

When we renovated our house in West Didsbury, in 2014, we knew that we wanted a concrete bench. A multi-purpose bench, where we could cook, eat, work and hang out. Our builder had not done one before, we’d not designed before, but between us, we did it…

Concrete bench : West Didsbury house renovation...

Concrete bench : West Didsbury house renovation…

And so when we moved lock, stock and barrel to Istria, we knew that somewhere, we’d reintroduce concrete. That “somewhere” was the Well Room. Once the actual well had been dismantled and re-located outside, the room was a whole lot bigger and we could definitely accommodate a dining table. As with all big renovation projects, budget is a big consideration, and we needed to keep an eye on our pennies. So, with a concrete mixer on site, and bags of concrete being fairly inexpensive, and a couple of builders who wanted to give it a go, we decided to once agian go for the industrial look.

We did toy with the idea of having the table looking as if it was floating, out from the wall. There would be sufficient strength in the structure, but as it would “float” almost over the exposed well chamber, we felt that this might freak people out and put them off their dinner. So, we decided to go down the more sensible route and have a support – even though the table wouldn’t need it, we felt it would look more safe.

Wooden support for the concrete construction...

Wooden support for the concrete construction…

Construction of the table begins...

Construction of the table begins…

Drying out process...

Drying out process…

Once the concrete had set and dried out thoroughly, the frame was removed, to reveal what was now very much like the vision we had had for our new table. Very simple, very industrial nothing fancy. Just perfect.

Our concrete table #2...

Our concrete table #2…

And with friends due to imminently arrive, we had our work cut out to get the rooms downstairs – kitchen, bathroom and well room – shipshape and ready for them. Although we still had the huge well chamber to deal with properly, a fixed block of wood and a cleverly positioned plant, ensured that we were adhering to all things health and safety. And, although the table still needed to be treated and varnished, we had no option other than to get it dressed and accessorised, so that at least we finally had somewhere – other than our knees – to eat.