garden reno : update 6

garden reno : update 6

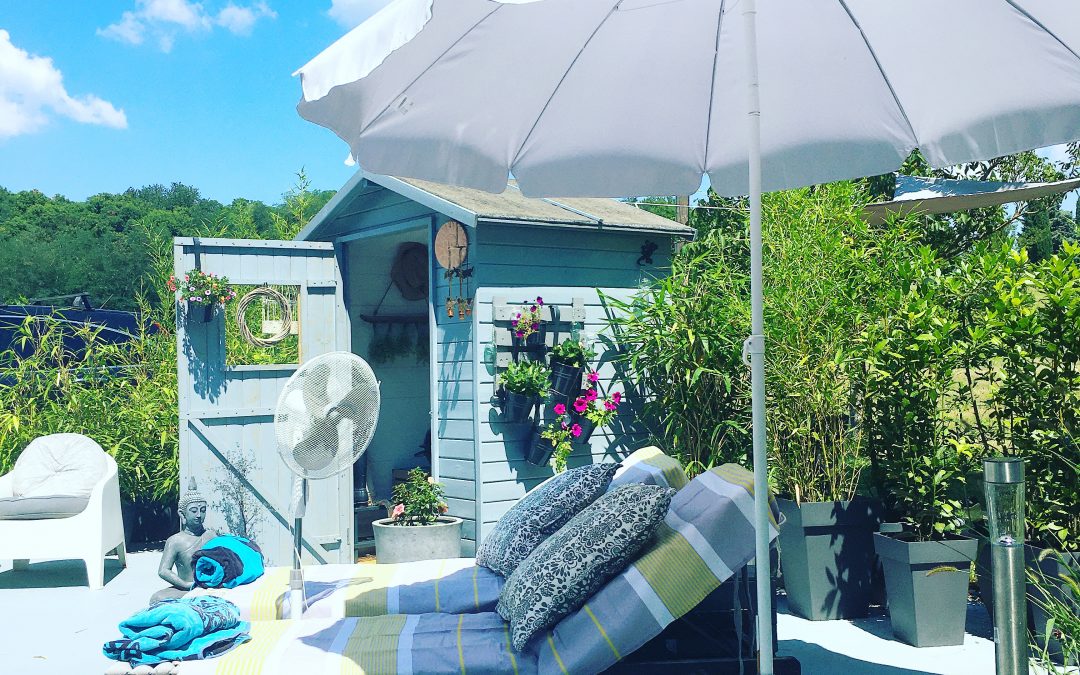
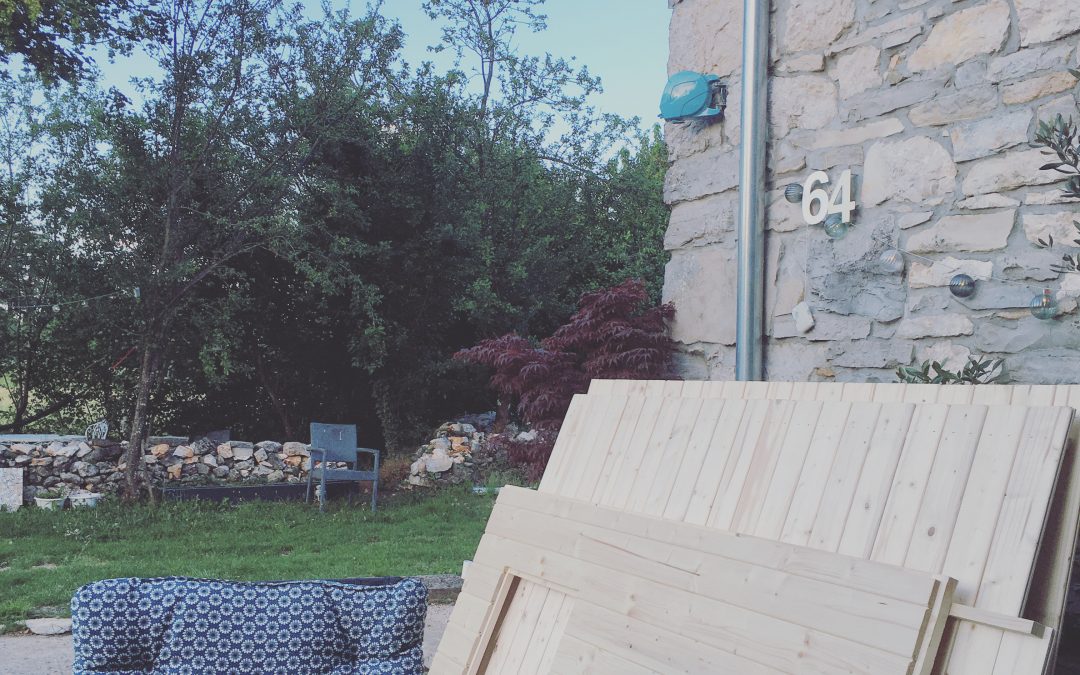
It was back in May that we finally bought a shed and started the job of building it. We made the initial mistake of thinking we’d bought just a shed, like the B&Q one we used to have in our garden back in West Didsbury, which was functional, but a bit on the cheap and flimsy side. We thought that sheds in Istria were a bit pricey because this one definitely wasn’t cheap, but we went for it, because we were becoming frustrated with the search for somewhere that sold these. I’d spotted a beautiful image on Pinterest of how I imagined it might look, and the shape of the one we found was exactly the same, so the search was over.

However, once unpacked, we realised that what we had bought was actually what was known, in shed circles, as a Dutch Log Cabin – a much grander description, I thought 😉 Unfortunately, this particular cabin had to acclimatise and as such, all of the wooden components had to sit out for three days. Not good for someone as impatient as me! But, despite instructions being in Dutch, over the course of a week, we worked it out and soon we had the structure built. The wood was a lovely golden pine – much nicer than the floorboards we inherited and which we’ve only recently finished treating and making good – but we didn’t want pine. The external (and internal) woodwork in the house is a very soft pale blue and so we chose a complementary soft grey satinwood for external use. The bonus with this paint, was that we didn’t need to use undercoat. The tongue and groove wood was caulked inside the shed, for extra protection against the rain, and painted white. Two coats were necessary for the outside, but it was fast drying satinwood and after a couple of additional days painting, the shed was ready. To accessorise!

We couldn’t just be content with the shed, though, because the lovely new colour really showed up the cheap look concrete patio. I love a bit of concrete, but not this kind, and the decision was made that this would be painted, too. As the patio area is a high traffic area, we went for a specialist, waterproof (no undercoat needed) paint, which wasn’t the cheapest option, or the quickest option, but wow, what a difference when we were finished.

Yes, sorry, that is a big tub of cold water for feet and an electric fan outside! On the day this photo was taken, the temperature was mid-thirties and it was VERY hot!

But, a few days later, this was the scene in the garden – and this is where the shed has come into its own. In previous summers, when a storm was approaching, we’d be dragging garden stuff that we didn’t want to get wet, indoors. It would all sit in The Well Room, taking up lots of space, until the weather improved. Now, it’s all found a new home in the shed.

We didn’t buy the shed to use it as a “garden shed”, full of plants pots and garden tools etc. All of that is stored in the external cellar. This was specifically for the quick in and out storage of cushions, sunbed pads, candles, lights, the hammock, sun sails etc. And, so far, it’s been worth every penny (or kuna) we paid. A couple of sets of white metal shelves were bought and fixed to the back wall, so they didn’t topple over – these are perfect to slot in seat pads, cushions, the rolled up hammock and sun towels. Two or three wooden crates are used to keep things together, which we always need in the garden, but have always had to search around the house to find them – one crate for suncreams and mosquito sprays, one for citronella candles, lighters, battery operated lights, and a smaller one full of batteries, bbq lighters etc.

As well as providing great storage, the shed also now gives us privacy. We’ve potted up quite a few tall, thick bamboos and these now sit to either side of the shed, meaning that we don;t have to consider building a wall at the front of the house anymore. The BBQ will have a winter home, as will our wellies and umbrellas and general winter stuff we don’t want in the house. The quality of it is in no doubt, having had some very strong and ferocious summer storms – no leaking or water ingress and it’s solid. Who knew you could love a shed as much?


garden reno : update 5

garden reno : update 5

For the first time this year, we made the trip to Pula. Normally, we’d by now, be making fairly regular trips to the airport to pick up and drop off visitors, but this is no normal year. Our first trip, done with a bit of trepidation, was to Bauhaus and Pevex, our equivalents of B&Q, to purchase the garden shed, paint, plants and assorted garden accessories. We paid a fair bit more than we were expecting to, but just thought sheds here might be more expensive than back in the UK – and as we didn’t want to add to the cost with paying for delivery (approx 70 euros), it was monkey-gripped onto the top of the car and driven back. On unwrapping it, we realised why it was more expensive than we had anticipated – it wasn’t a shed, like the ones we’ve had previously. This was desribed as a Dutch Log Cabin and the wood was clearly much, much better quality. Being a very impatient person, I didn;t like the fact it had to be unwrapped and all of the panels and wood laid out, to acclimatise, for two days! However, I was persuaded that we do this right. So, progress has been much slower than I anticipated, but we’re getting there.

First job, once the wood had acclimatised, was to seal the slats which would form the floor, with a moiosture proof sealant. Lukcily, the weekend was quite hot, so drying was rapid.

The idea had been to position the shed at the far end of the concrete patio, facing the new kitchen window. But, as soon as we placed down the floor to assess the size, we remembered that this part of the garden is on the long to-do list. When it rains heavily, water pools in this area, and we need to drill in drain holes, so we decided against this position, opting for the right hand side instead.

The wall which we’ve been considering for ages, is no longer going to be a wall. We thought we’d made a decision and were going to fo for a boundary wall made of those geometric patterned blocks, which everyone had in their gardens in the ’70s. Much as we do love this idea, we decided that if we are going to sell the house, this kind of wall might not be to everyone’s tastes and so we’ve decided that with a few more potted bamboos we can create a thick natural wall – which we can then take away with us, eventually.

By Sunday evening, we’d managed to get this far – but are back on it again today. Once the roof has been installed and the door fixed, all gaps will be caulked before undercoating and topcoating. And then – accessorising…