winter teal

winter teal

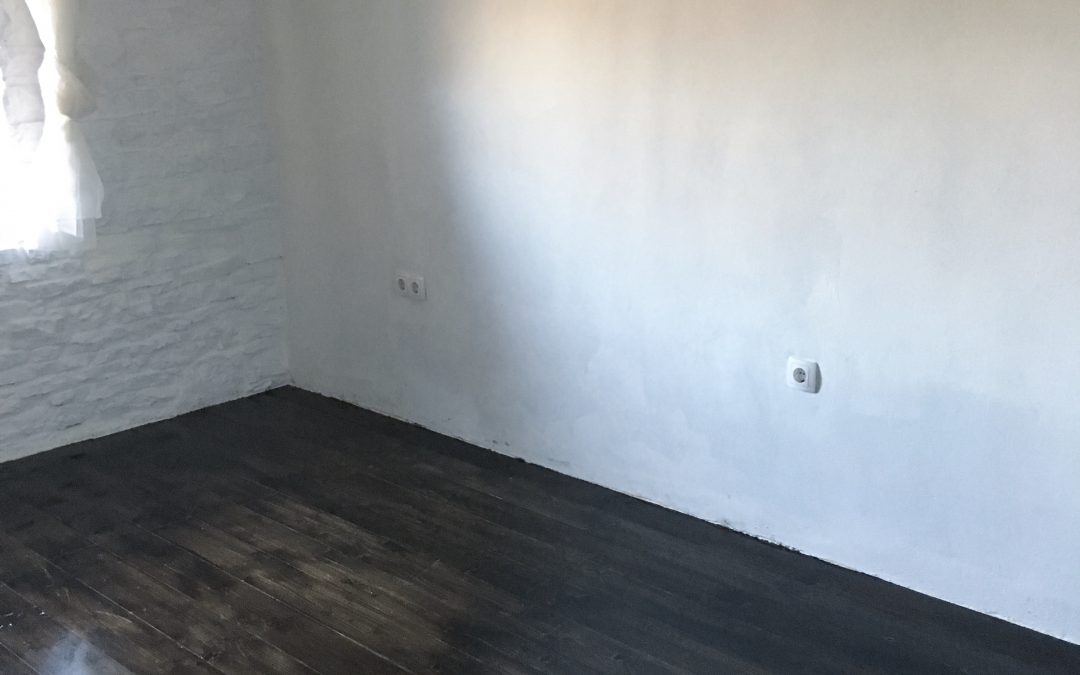
The main bedroom in our house is large. Certainly bigger than any bedroom we’ve ever had before – and keeping it warm and cosy in the winter, is something I work on every year. It’s great in the summer – light, spacious and airy. With the windows wide open and a couple of lovely retro fans at the bedside, we are kept cool. But come a drop in temperature, we do have to work at keeping it warm. Sometimes, in the depths of winter, we’ve given in and moved across the landing to one of the smaller bedrooms, closing up the main room. But I don’t like doing this, because it feels we’re shutting up a large part of the house, and I don’t like that feeling of creeping coldness that you get in rooms you don’t use. So, this year, we are staying put, but are ensuring that this potentially cold room, is the cosiest yet. How are we doing this doing?

Well, new curtains have already had a big impact.

We’ve always had the muslin drapes at the windows – even though we don’t actually need any coverage at all, as we’re not overlooked at all – but they soften the window wall, which is the original stone. Then we added long, cream curtains, which are great over the summer but don’t give that feeling of warmth over the winter. Over the weekend, we stayed in a hotel in Treviso, and our room had long, floor length chocolate brown, velvet curtains – and this got me thinking, so a quick trip to IKEA was done. And there were the perfect drapes…

All of our bedroom furniture is painted duck egg blue, and we have a big standing lamp in the same colour, so when teal velvet was spotted, I knew these would work. And with a drop of 3m, the exact length needed.

These curtains are from the Birtna range and each pack contains a pair. We paid €69.99 per pack and needed two, so not cheap – BUT we figured that if they kept the room warm and cosy, we’d be cutting down on using heaters. They are also black-out curtains and worked well this morning – even in the winter, the sun does shine brightly into this bedroom, but they did the trick. So, not the cheapest – but also, not the most expensive – and definitely worth it for what we wanted…


bedroom three reno : update 2

bedroom three reno : update 2

Yes, we are edging closer and closer to having the house fully renovated, with the completion of the renovation of the second guest room. This room, on the top floor, currently looks out over the village and has a great view down onto the piece of land, with a tiny little abandoned house, which we are in the process of buying. Meaning that one day, this room will have a much nicer view. One day, it will be looking down onto a walled garden, or a pool or a renovated annexe. Depending on our future plans – more of which later – this room will definitely be a Room With A View. However, let’s go back over three years, from when we first viewed the house and look at how it’s changed…

Our first viewing in July 2016. The room we’ve just completed is top left.

Our first viewing in July 2016. The room we’ve just completed is top left…

First viewing : bare pine boards, unplastered walls, untreated beams, damp patches, exposed brickwork. Lots to do…

First viewing : bare pine boards, unplastered walls, untreated beams, damp patches, exposed brickwork. Lots to do…

The first incarnation of the room – storage space…

The first incarnation of the room – storage space…

This room was actually one of the first to be tackled – probably because it was quite an easy shape and it was fairly obvious what we needed to do to make it look a lot better, very quickly. Walls were all painted white, the woodwork was done in the same pale blue satinwood that was being used on the external shutters and the pine floorboards were painted grey. First mistake, right there. When the floor was finished and had dried, we knew immediately we liked neither the colour nor the sheen of the topcoat. Too late though, as we had friends coming to stay and beds had been ordered.

We wanted flexibility with our guest bedrooms and so opted for two single beds in this room which could be fitted together to make a large double, when necessary. The arrival of the beds meant that the room eventually started to take on more of a homely feel…

Because we work from home, we have to actually have somewhere we can actually work – and during the house renovations, we really needed to create a quiet space, away from the demolition, drilling and general rebuilding. This second guest room was the perfect place – well away from all of the work going on downstairs and in a room that had the space to serve both functions.

During spring/summer 2019, we joined a scheme called WorkAway – a scheme which puts together people who are travelling and who have skills to offer, with hosts who need people with specific skills. We wanted our WorkAway guests to have their own space in the house, and as we were using this particular bedroom less as an office, we decided to take it back to a bedroom. Meaning that when WorkAway visitors arrived, we weren’t constantly changing the room and moving out desks and PC equipment etc.

We did still feel that this room had never been quite finished – not all of the beams were painted, the beam above the window was still in its original state and we’d decided we definitely didn’t like the floor colour – so the decision was taken to finally get it completed. And that meant moving everything out – again! – so that the floor could be painted in the same colour as we were doing throughout the upper floor and the beams finished. So, back to bedroom chaos for a little while…

Oct 19 : Starting the *next* clear-out, so that we can finish the second guest room. At last…

Oct 19 : Starting the *next* clear-out, so that we can finish the second guest room. At last…

The painting never seems to end…

The painting never seems to end…

A room never seems a finished room until we’ve put thought into it and worked out what the purpose of it will be. I think we’ve finally decided that this room will stay a bedroom. We have The Snug downstairs, with a woodburner, so one ou can decamp in there with a laptop and we have a funky desk arrangement in the corner of the living room, so we’re definitely not short of work space. Our internet connection is now strong and so we can work from almost anywhere in the house, so it finally makes sense to have three decent sized bedrooms, all ready to go, for visiting family and friends.

Once the floor and beams were finished, we decided to upcycle an old cabinet we’d brought over with us from Didsbury. Matt, at David Gavin Design on Burton Road had put it outside his shop for anyone to take, and we saw a lot of potential in it. Hope he approves of its elegant new look…

Because this room has always been a bit neglected, we decided to inject a little more oomph into it. A thick-pile cream and blue rug adds warmth underfoot and blue velvet curtains now block out the light, ensuring a very relaxed night’s sleep. Our love of faux foliage comes out strongly in this room, with vines and swathes of ivy wrapped around the beams and long fronds of greenery hanging down. New bedding, including a very comfy new duvet, makes this room a real room now. Not an after-thought.


kitchen reno : update 4

kitchen reno : update 4

It’s the weekend, but that doesn’t stop our builders. Give them their due, there’s some work ethic being displayed here! We *think* that the major drilling work might be over for this phase of the house renovation, so whilst Misko & Edin got on with the cabling and first plastering of the ceiling, we were finally able to begin the process of cleaning up a little bit. By Saturday evening, we actually had a living-room, of sorts, back…

A little bit of living room comfort...

A little bit of living room comfort…

The Manchester Bees are back...

The Manchester Bees are back…

Although it mightn’t look it, this has been a weekend of progress. The pipes, casing the new wiring, have all been plastered in, as have the new water pipes. The new step is in and the concrete has been laid on the floor. Tomorrow, the exciting stuff starts to begin, with the plastering of the walls and the laying of the underfloor heating. We think it’ll still be a week or so before the kitchen itself is installed, but at least it’s taking on the shape of a room again, rather than a construction site.

New electrical piping. IN...

New electrical piping. IN…

New water piping. IN...

New water piping. IN…

New kitchen step - and addition cabling - piping. IN...

New kitchen step – and addition cabling – piping. IN…

Meanwhile, we’ve also been busy, with a bit more DIY work going on in the main bedroom. The new ebony stained floor looks amazing, and we’ve taken things a step further by staining the light bed frame to match.

Finally the colour we imagined...

Finally the colour we imagined…

Upcycling the bed frame...

Upcycling the bed frame…

Ebony floor and bed frame...

Ebony floor and bed frame…

Details: velvet peacock feather cushions

Details: velvet peacock feather cushions

A haven away from the building work...

A haven away from the building work…

A haven away from the building work. At times like these, throws, furs and cushions are important...

A haven away from the building work. At times like these, throws, furs and cushions are important…

Still a long way to go on this bedroom, but it’s looking a whole lot nicer than when we first moved in. Next up is new lighting, painting of the beams. building storage space inside a big recess and sourcing Moroccan style doors. Oh, and hopefully, the best bit. A free-standing bath! All coming up…

house renovation : floors

house renovation : floors

Although our house is quite old – we think parts of it are over 200 years old – and is quite traditional in structural style to many of the stone houses in Istria, we are determined to stamp a contemporary feel on it. Apart from The Well Room where the floor is stone flags (therefore very beautiful, but extremely cold in the winter), and which will be dealt with a separate project, the rest of the floors are fairly recently laid pine boards. Fairly recently, as in within the last ten years. As no-one has really lived in the house, they’re not in bad condition – but have never been treated. This is good for us as we don’t need to do that awful sanding, but they are ripe for a refresh, especially as they are all of that golden-ish colour, which we don’t really like.

Pale pine boards about to have a make-over...

Pale pine boards about to have a make-over…

We’ve systematically gone through the house, with our paintbrushes, white-washing all of the walls, which were largely bare stone. Again, lovely – but too much of it and too cold. So, with white walls and white ceilings, we decided that certainly in our bedroom, we wanted to take the floors very dark. The room is big, with exposed original beams and a very high vaulted ceiling, so we figured we could go dark on the floor. Rather than paint (which we’ll be doing downstairs), we decided to stain and varnish the boards. Having seen some boards which had been treated with a walnut coloured stain, we went for this colour. Or so we thought…

DIY/building/renovation is as big in Croatia as it is back in the UK, and so we have absolutely no shortage of B&Q-like places. Our language skills are currently not good enough to go local and independent when shopping for DIY related things, so off we went to Bauhaus, in Pula, purchasing what looked like walnut wood stain, from the colour swatch on the tin and from what we could glean from our translation app. However, when we finally started to stain the boards this weekend, what a disappointment! The colour could only be described as the honeycomb colour of a Crunchie bar. Even more “golden” than the boards in their untreated state…

The disappointing honey coloured stain...

The disappointing honey coloured stain…

The original, unstained boards are to the forefront of the photograph, the boards stained with “Walnut” to the back. It was pointless even continuing, as there is a lot of floor area to cover and it just wasn’t right, so there was nothing for it, apart from to hotfoot back down to Bauhaus in Pula. We were going to have dark floors and after a bit of googling, decided the only thing to do was opt for an Ebony stain. And hurrah, it has worked!

The colour we wanted - "walnut" - is called "ebony" here. Lesson learned for the future...

The colour we wanted – “walnut” – is called “ebony” here. Lesson learned for the future…

There’s still a long way to go – this is only a third of the floor space, and we then are then going to hard varnish it for extra durability. The floor will then be done – and we will hopefully be ready for the next stages of the bedroom renovation/transformation. The plan is a free-standing bath (woop!), with shelving built around it and then building storage into a big recess, with Moroccan style wooden doors. Fingers crossed it all works out, so that finally, we shall a have bedroom which is not just a dumping ground for clothes. And, with such a high ceiling, we’ve gone for two over sized pendants – they’re only from IKEA and may, at some point in the future, be replaced for something a bit more original, but currently, just the thought of accessorising the bedroom is sufficient…


bedroom two reno : update 1

bedroom two reno : update 1

This room, above, when we viewed for the first time in July 2016, was something of a mess. Two sets of bunk beds, random shelving, dishevelled bedding, bare plaster walls, bare floor boards – all in all, pretty dismal. BUT, with a beautiful soaring ceiling, original beams which could be made beautiful and a view out over what could be the front garden, and beyond to fields and woods, we figured this could be a pretty special room. Eventually. But definitely not when we viewed.

Fast forward to March 2017 and we’d gone with our guts, bought the house and had moved in. All of our belongings arrived on a huge lorry at the start of March, but we still needed furniture for the two guest bedrooms. And, as we’d decided to initially carve out Bedroom Two as a cosy and comfortable hideaway, whilst we were renovating, we had get furniture and furnishings sorted quickly. A trip over to IKEA in Zagreb did the trick – at time. we didn’t know how close we were to Trieste where there’s an IKEA and we were months away from discovering great stores like Jysk, so Zagreb it was. It was all a bit weird to be honest, as, like you’ve expect, the layout was just so familiar and so we could have been in the Ashton-under-Lyne, or Warrington store. But, no, we were in the Croatian capital, trying to furnish a room.

Anyway, we did it and a week later, everything was delivered from IKEA. IT was flat pack chaos, as obviously nothing could be unpacked and built, before we had painted the room. So, this was where we started, whilst living around boxes in the living room.

The decision had been taken early on that all walls in the house would initially be painted white, so that we had a real blank canvas and could get a feel for the house, when it felt light, bright and clean. So, armed with rollers and paint, we set about tackling those awful walls in Bedroom Two…We had plans for the woodwork, but that was going to have to be left to another day, as we just needed to create a room we could escape to.

The internal decor of the house was very traditional and not to our taste at all. Every light fitting was removed and replaced. Rather than overhead lights, most rooms had wall lights, with the most horrendous opaque glass horrendous. These were immediately skipped when we sourced some amazing shades which had been rescued from a Communist era office block in Zagreb. Very cool! The bed we had bought was large – comfort and size were top priorities – so we didn’t want bedside tables cluttering up the room, but we still wanted good lighting. These industrial style wall lights, from IKEA, were just perfect. A beautiful anthracite colour, with that gorgeous retro cabling. All ready to be wall mounted on either side of the bed – when it was built.

We pushed the boat out a little with the bed. A kingsize divan, which was just so comfy when we tested it in store. It definitely wasn’t the cheapest, but we knew that we had a good few months ahead of us of discomfort, so wanted to be sure that at the end of the day, we could just sink into a bed and fall asleep. It was put together fairly quickly and we were delighted with how sturdy it looked.

I can remember taking the photo below and feeling such a sense of achievement. Within days of us arriving in our new home, in a different country, we’d navigated purchasing everything we needed in a new capital city and were on track to having our first completed room. And, just look at those walls – brilliant white and so, so clean. Beautiful.

Next up was manoeuvering the very thick, substantial and therefore heavy, mattress, up the wooden stairs. After a lot of heaving and getting it around corners and through doorways, it was eventually in Bedroom Two, on the new bed and ready to be dressed. A big day!

The whole bed was wrapped in a grey fabric cover, so when new bedding was purchased (including a soft, new duvet – bliss) grey was the obvious choice. We also managed to locate some artwork from the hundreds of boxes, piled up around the house, so that the room started to have a little bit of personality.

This may not seem to much of an achievement to anyone else, but I think we really did smash the creation of a gorgeous new bedroom, within two weeks of arriving in Istria. And although things will certainly develop as we