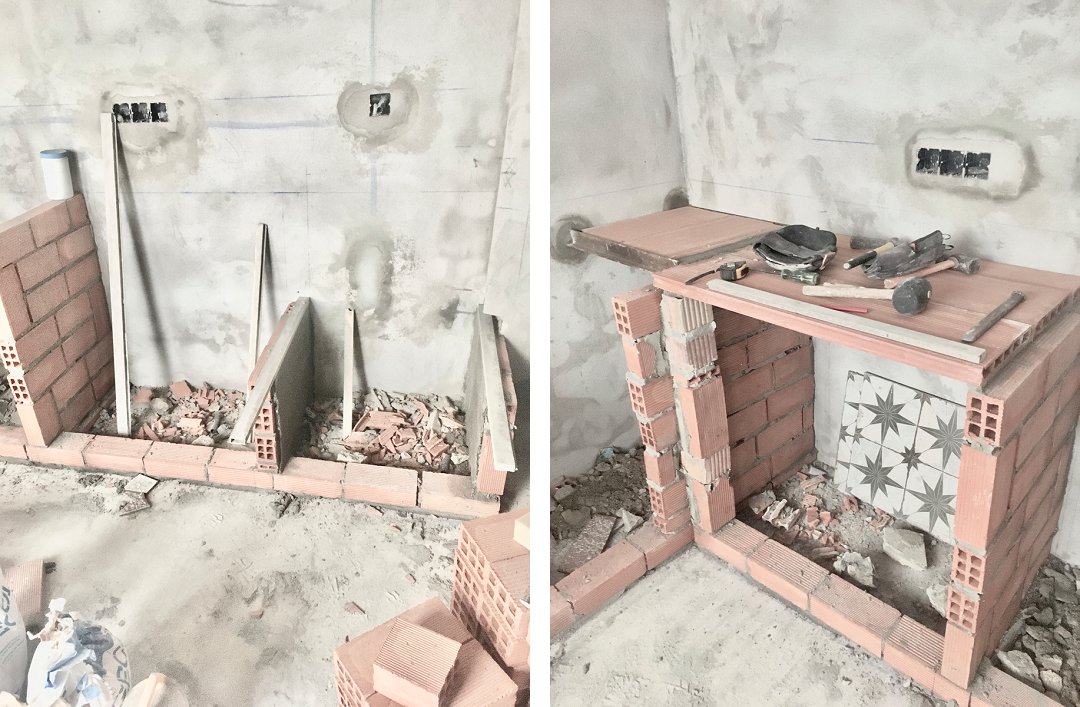
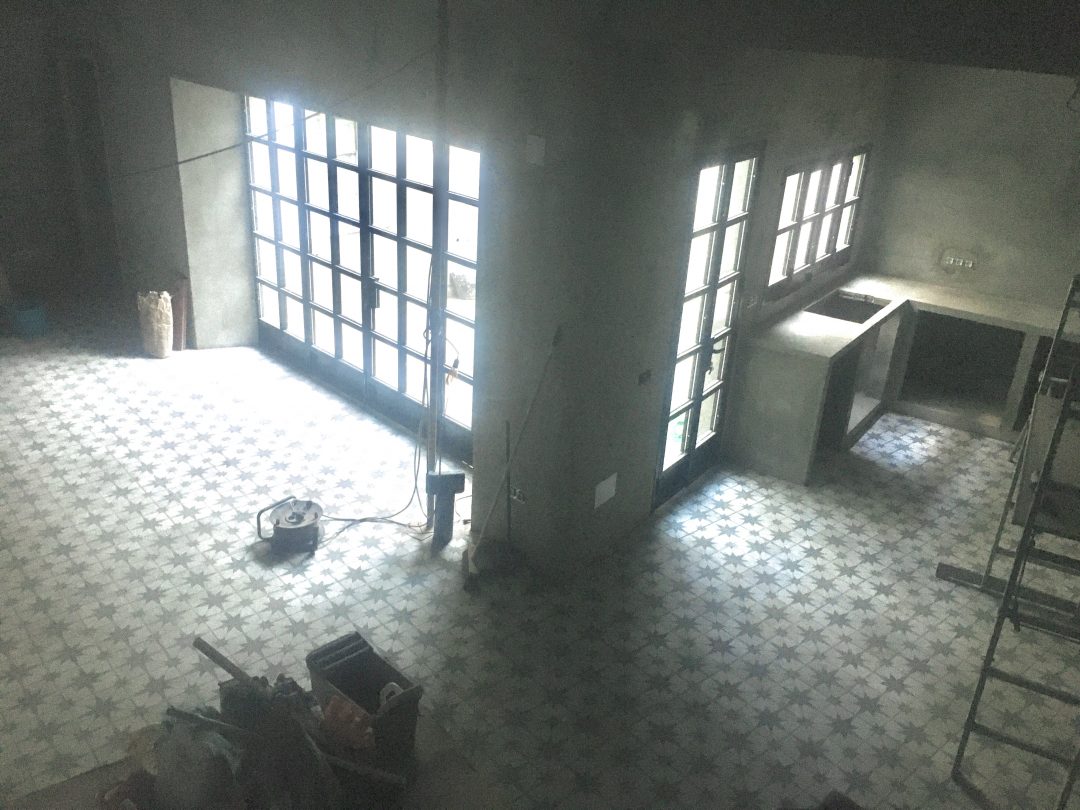
Our kitchens have always been a big part of our previous homes. Big in importance, but sadly, never big in size. Until we bought our Andalucian townhouse, and the footprint of the kitchen was huge, compared to what we had had previously. The kitchen we inherited though, was a bit of a horror show and literally nothing – even the wall – could be salvaged, and so everything was ripped out. Units, doors, windows, the floor, the wall into it, plumbing, electrics – all taken out. Giving us what we realised, was a BIG space to fill…
Having done kitchen renovations previously, we didn’t want a store bought kitchen this time around. We wanted something unique and bespoke and definitely Andalucian. We discussed the design and the layout and materials at length with our builders. Where sockets and plugs would be installed. What kind of lighting we’d have. What the flooring would be like. How the units would be constructed. Would we just have base units or wall units, too? Would the base units have doors? If so, what kind? Where would appliances go and what colour would they be? In fact, what would the overall colour scheme be? It took us weeks to nail down our vision, because between us all we had so many ideas. This meant, lots of design ideas and plans went back and forth by email – don’t forget we were working on this long distance, as we renting an an apartment right out on the western coast of Andalucia, as our renovation, just north of Sotogrande, progressed. So, we had to be really focused to get it right, because we weren’t in the thick of it all the time.

The wall into the kitchen was removed and a steel lintel installed, creating an open plan space which gave us so many possibilities. We really wanted a kitchen island, and with our builder, looked at various ways of doing this, and although we really liked all of the options, none seemed totally right. The island seemed to encroach too much on the open space we’d gained, and we realised we liked the idea, rather than the reality, so we ditched trying to incorporate this feature. Much, much research went into the style of the kitchen. We absolutely knew we wanted it to feel Andalucian, but very contemporary. We wanted it to be uncluttered but a space which functioned well. With appliances to a minimum – and because we had the luxury of an additional space which would become a utility room, we could design a kitchen without having to take into account a washing machine, a dryer, a freezer and a small, extra fridge. We felt that white was the colour we wanted – a bit risky in a kitchen, but we’re in Spain, and so didn’t want to go dark, as we had done in Istria. All of our ideas and inspirations were pointing towards natural and organic, and we made sure we had a good bank of ideas to share with our builder.
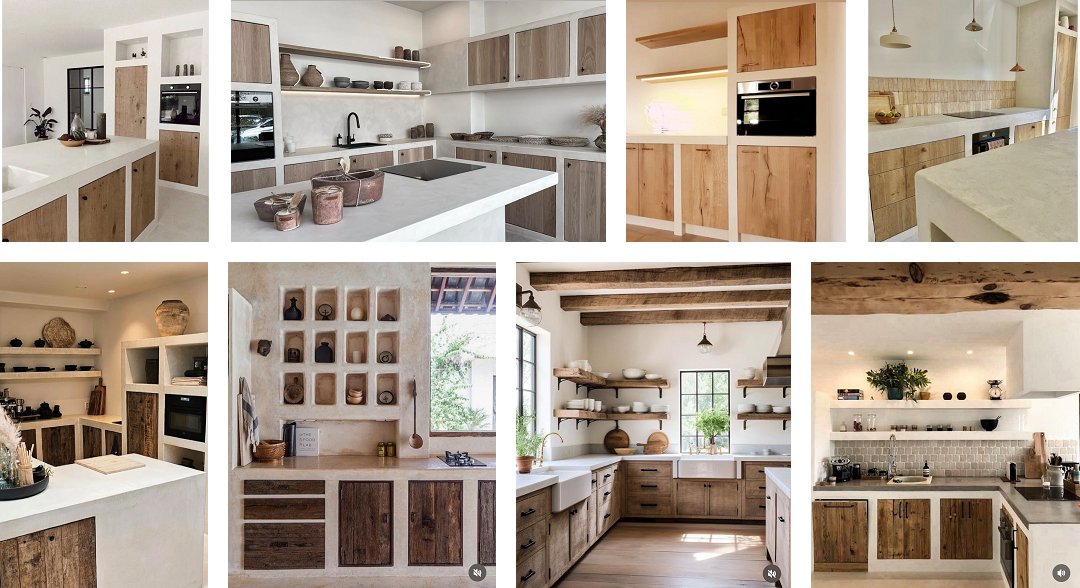
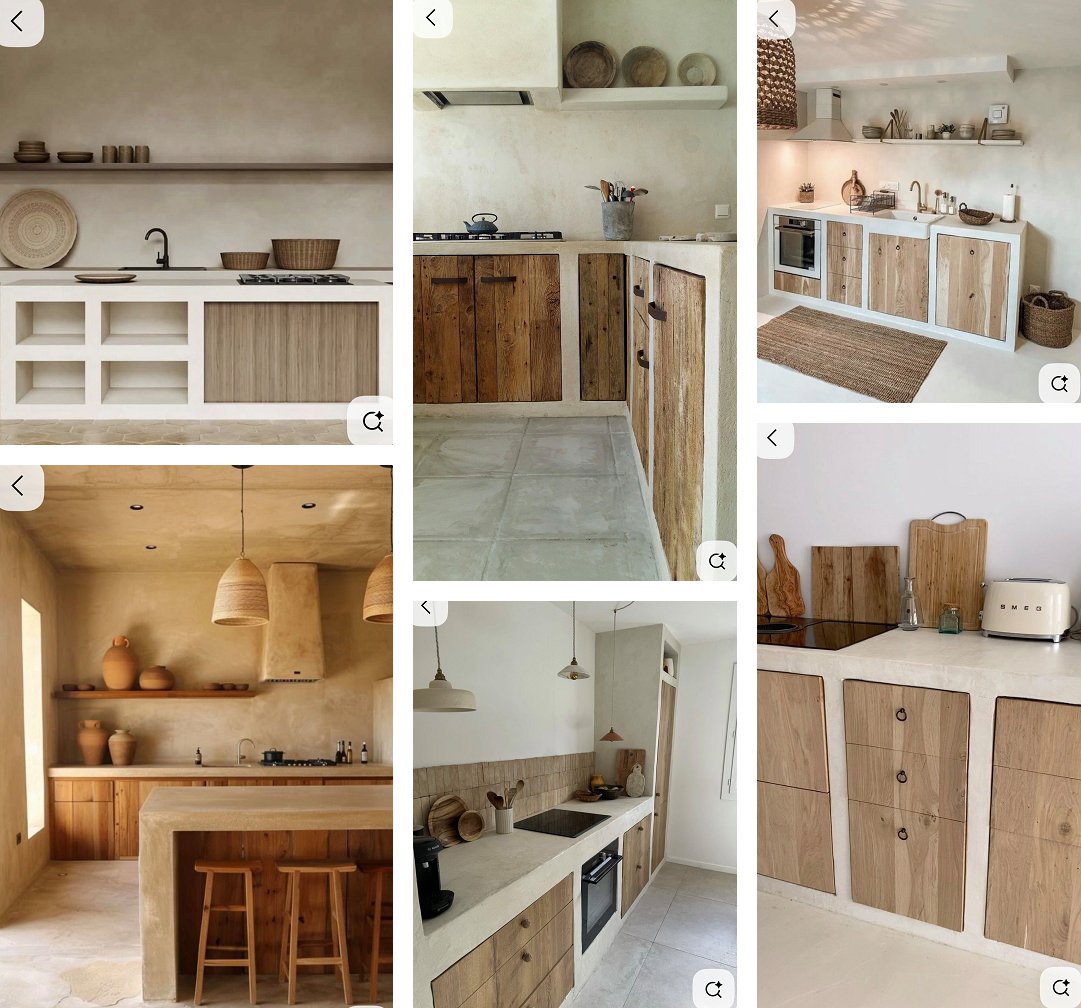
The more we researched, the more we were coming to the conclusion that micro-cement was only route to really go down, to get the effect we wanted, potentially with reclaimed wooden doors. Simple, unfussy, clean lines. With new wiring and sockets fitted and the plumbing completed, we were ready to go with the build of the micro-cement. (Reading that sentence back, does make it sound like it all happened in a couple of weeks – not quite, as while the kitchen was being renovated, so was the rest of the house, and so work was a bit stop start, as the builders worked their way around it all). It was all very exciting, once we have the go-ahead, to see it all beginning to take a shape.
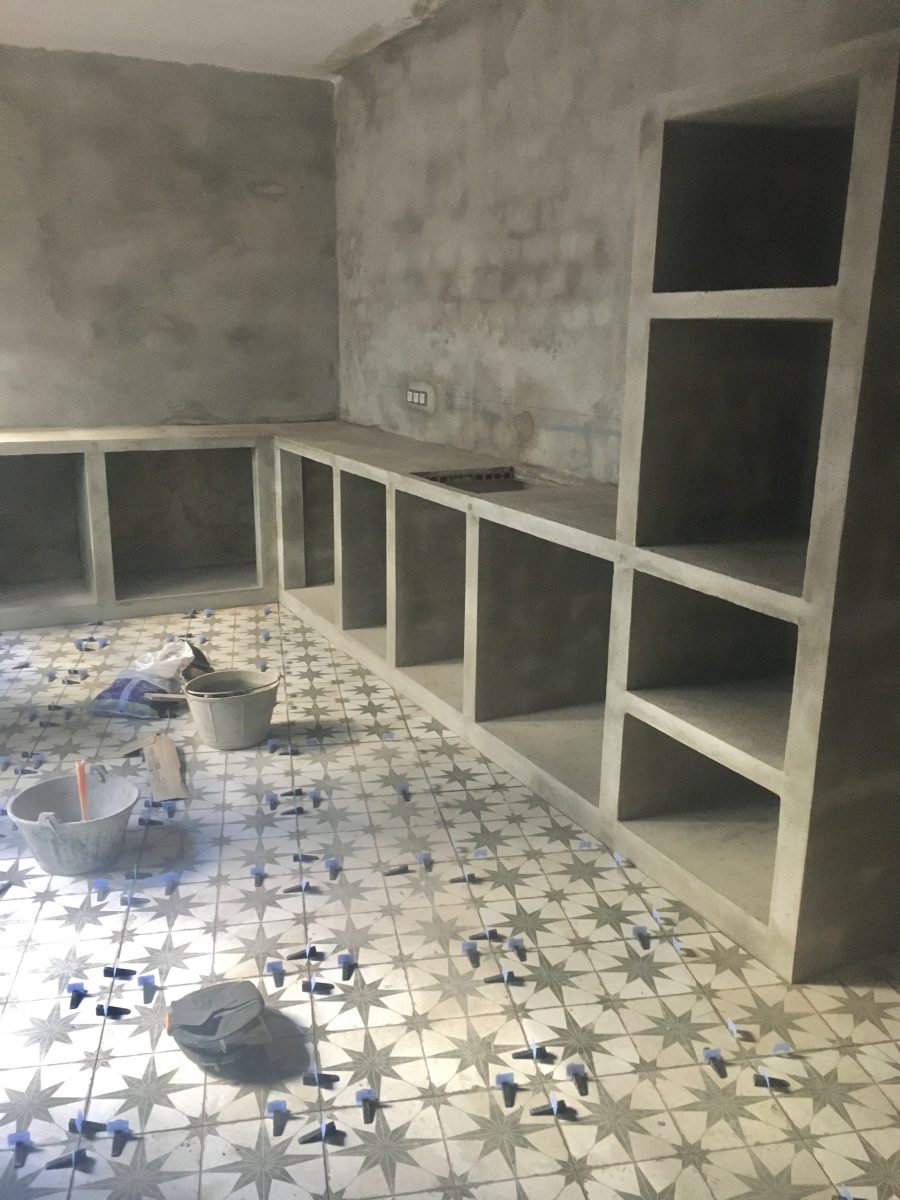
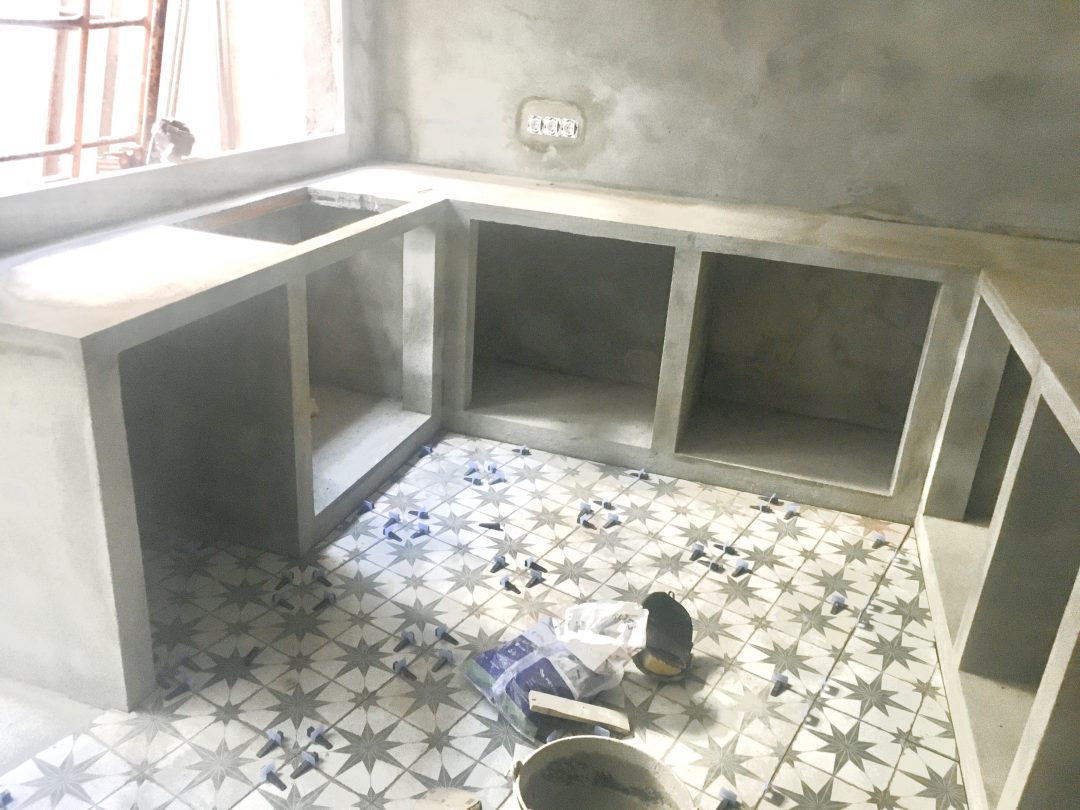
Working around our builders, the window fitters arrived and within a couple of days, our beautiful black crittal doors and windows had been fitted. The propped up tiles above, are the ones we chose for the whole of the open plan ground floor, and with beautiful sage green stars, this gave us the accent of colour we wanted in the kitchen, but keeping to the idea of natural and organic. Once the base unit has been built, they were concreted and the floor tiles laid throughout, immediately giving us a feel that the kitchen was actually coming together.
Perhaps the biggest transformation, for us, came with the professional painting of walls and ceilings. We had had the idea that we’d do the painting ourselves, but I can say, hand on heart, getting professionals to do it all, was one of the best decisions we made. It would have taken us forever, but within a couple of weeks, all the internal and external walls and ceilings were painted and lifted the house in the most magical way. Just prior to the painting, the sage green spotlights we’d chosen, to complement the floor tiles were fitted, also fitted. We spent quite a long time researching the light fittings, because again, we didn’t want to get these wrong. We knew we didn’t want the recessed silver or white round spotlight fittings, we wanted something a bit more of a statement, and when I spotted these beautiful cylindrical, ridged, sage green holders, I knew they were the ones. Perfect. And once the ceiling fans were installed – well, my word! These had been boxed up, sitting in amongst the chaos for a year – they were the first things we ordered as there happened to be a massive sale on, so we couldn’t pass up the opportunity to buy them – so when they were fitted, it was the first time we had seen them in the flesh. And, wow – they were everything we’d hoped they would be.
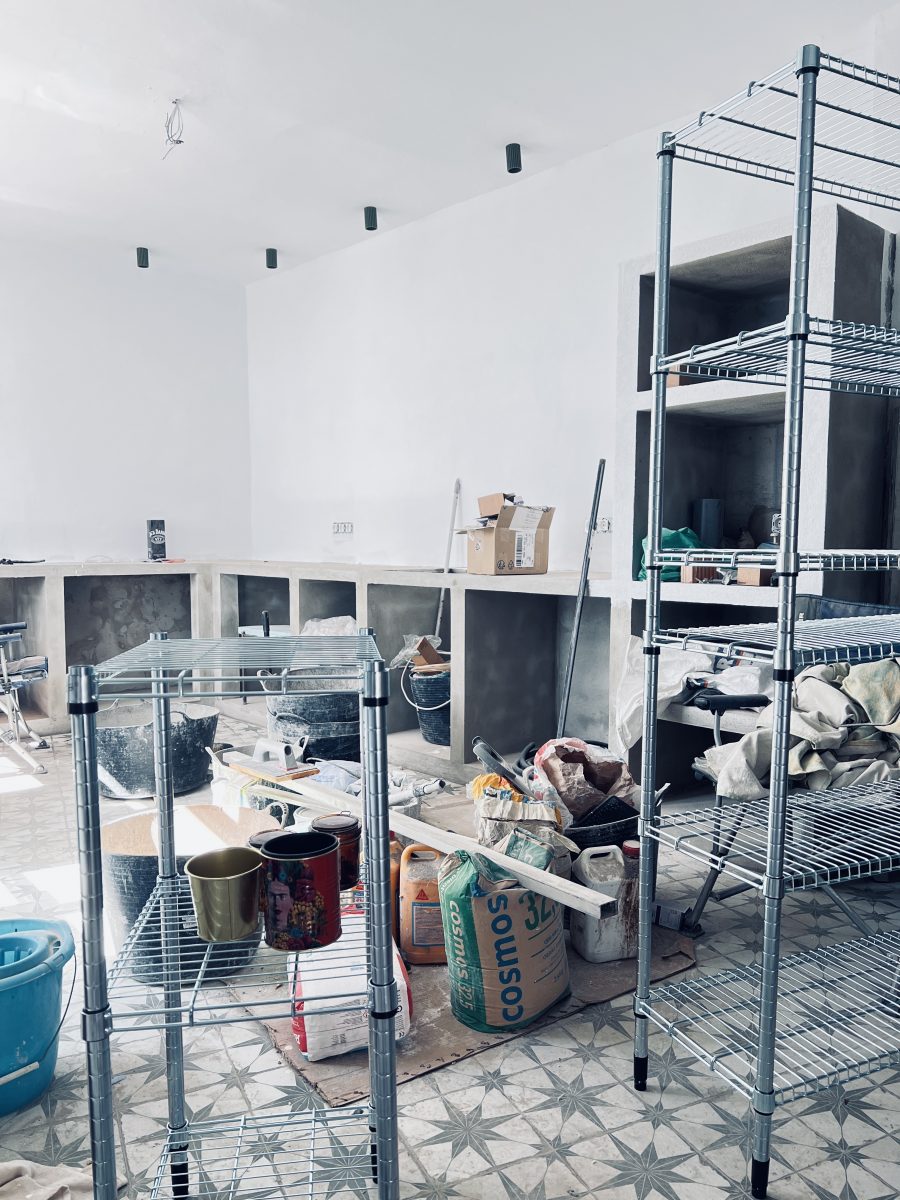

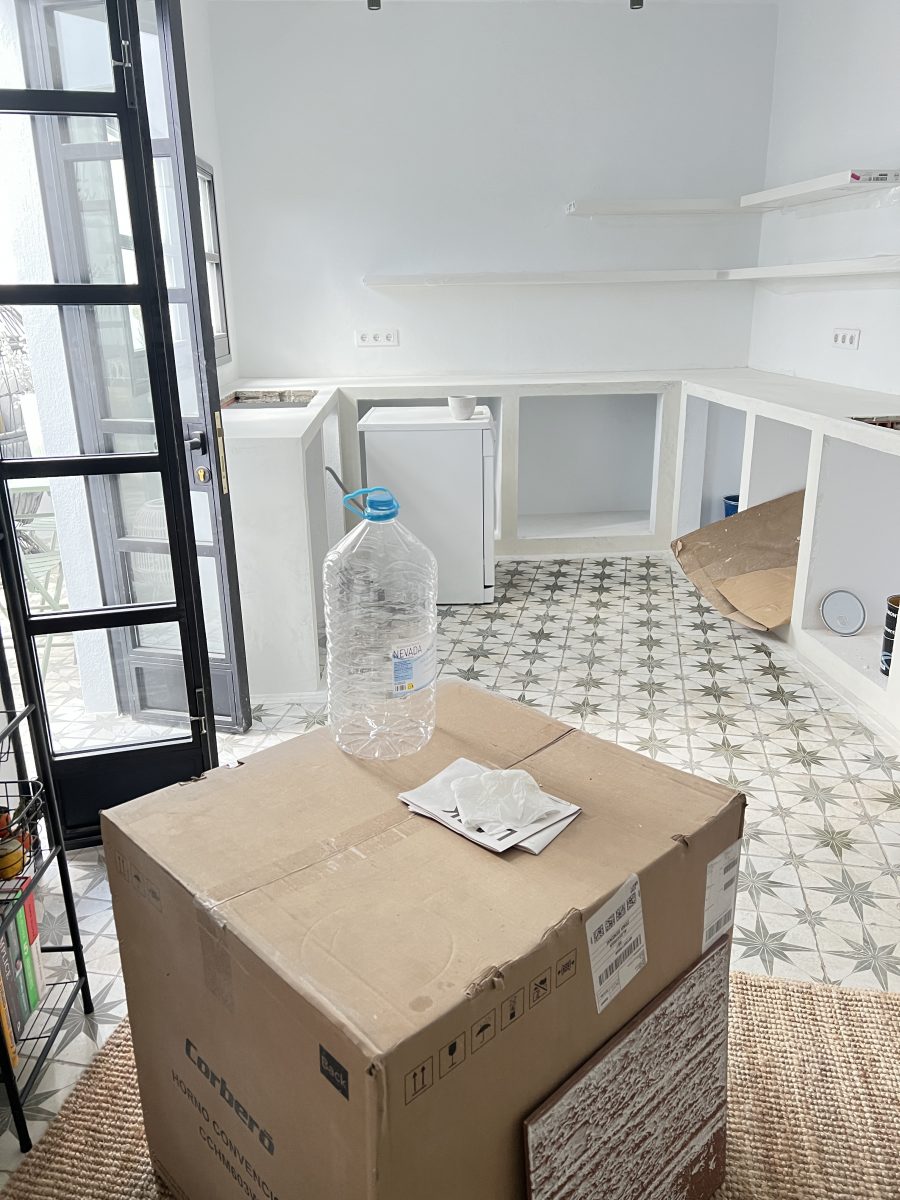
The next step was the actual micro-cement finish, but we had to wait a couple of weeks for our builder to be able to do it, so we were able to have a kitchen of sorts, giving us an idea of how the finished room might be. The main appliances remained boxed up and we had to rely on air fryers, a microwave and our electric two ring camping hob for our cooking, but at least we’d had the foresight to have dishwasher fitted, as the sink also hadn’t been plumbed in. However, after no kitchen at all for a good few months, this temporary set up felt pretty much like we weren’t far from the finish line.

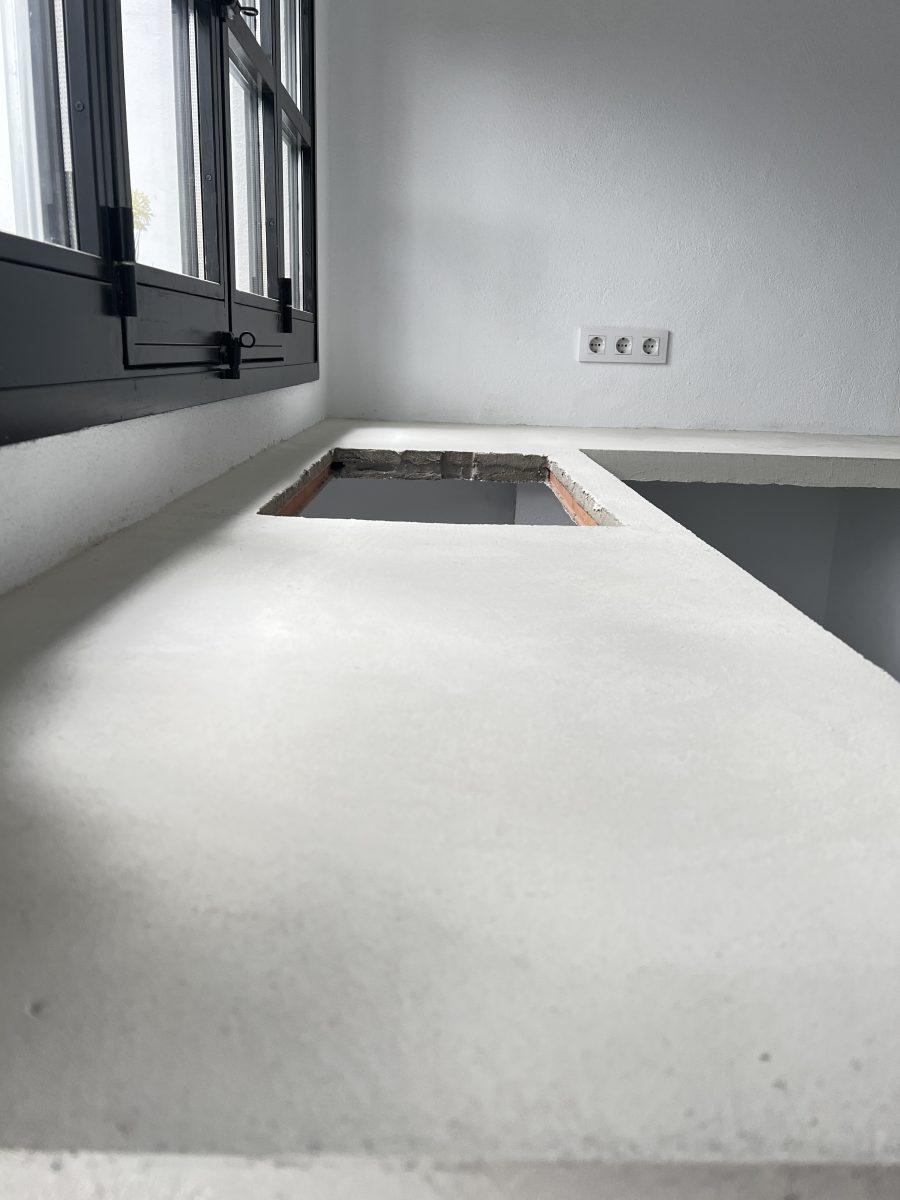
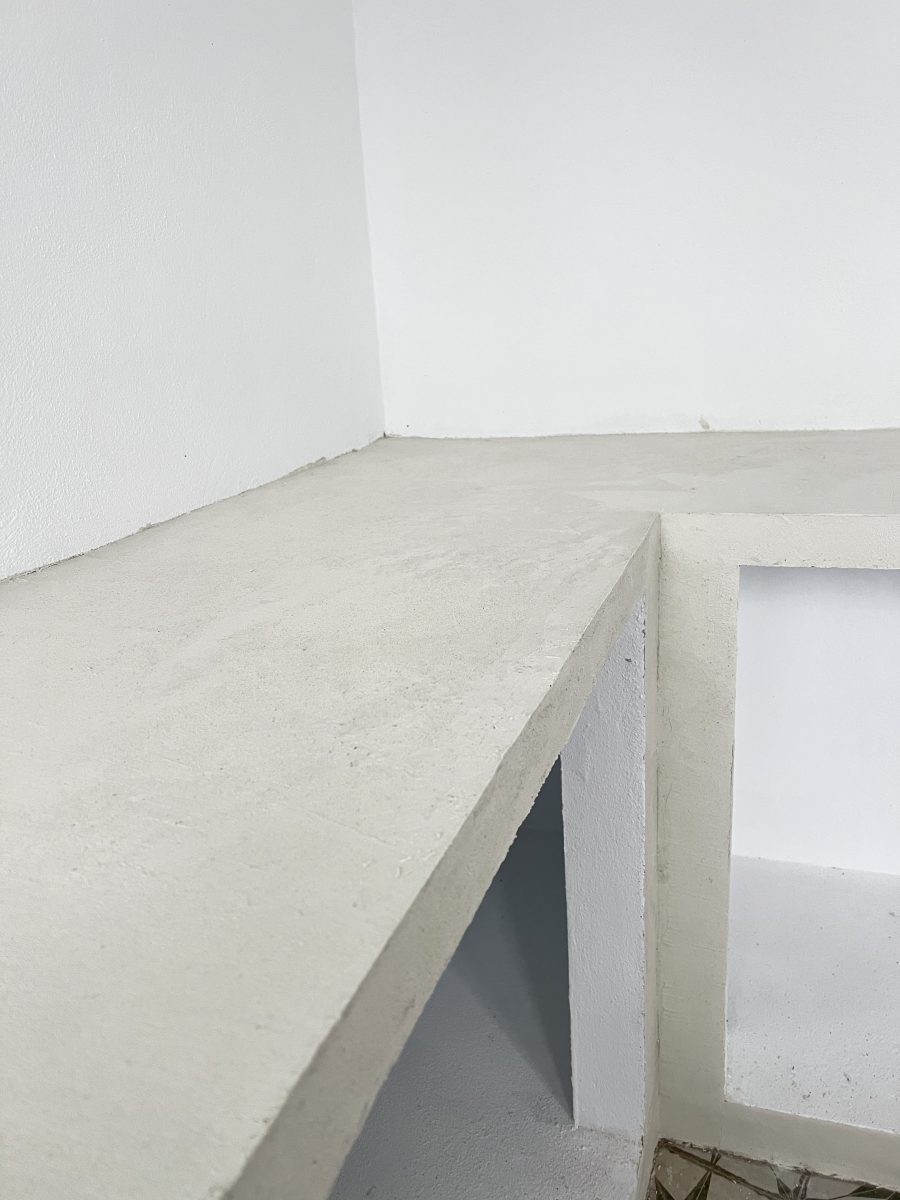
The micro-cement finish of the base units was nowhere near as messy as we thought it might. I think we had in our heads it would involve lots of sanding, and whilst our poor builder seemed to spend days with sandpaper in his hands, it was light and fine, rather than industrial. The compound was mixed and applied several times, to create the finish we wanted to achieve – white, with very fine grey lines/marks to resemble a very subtle marble effect.
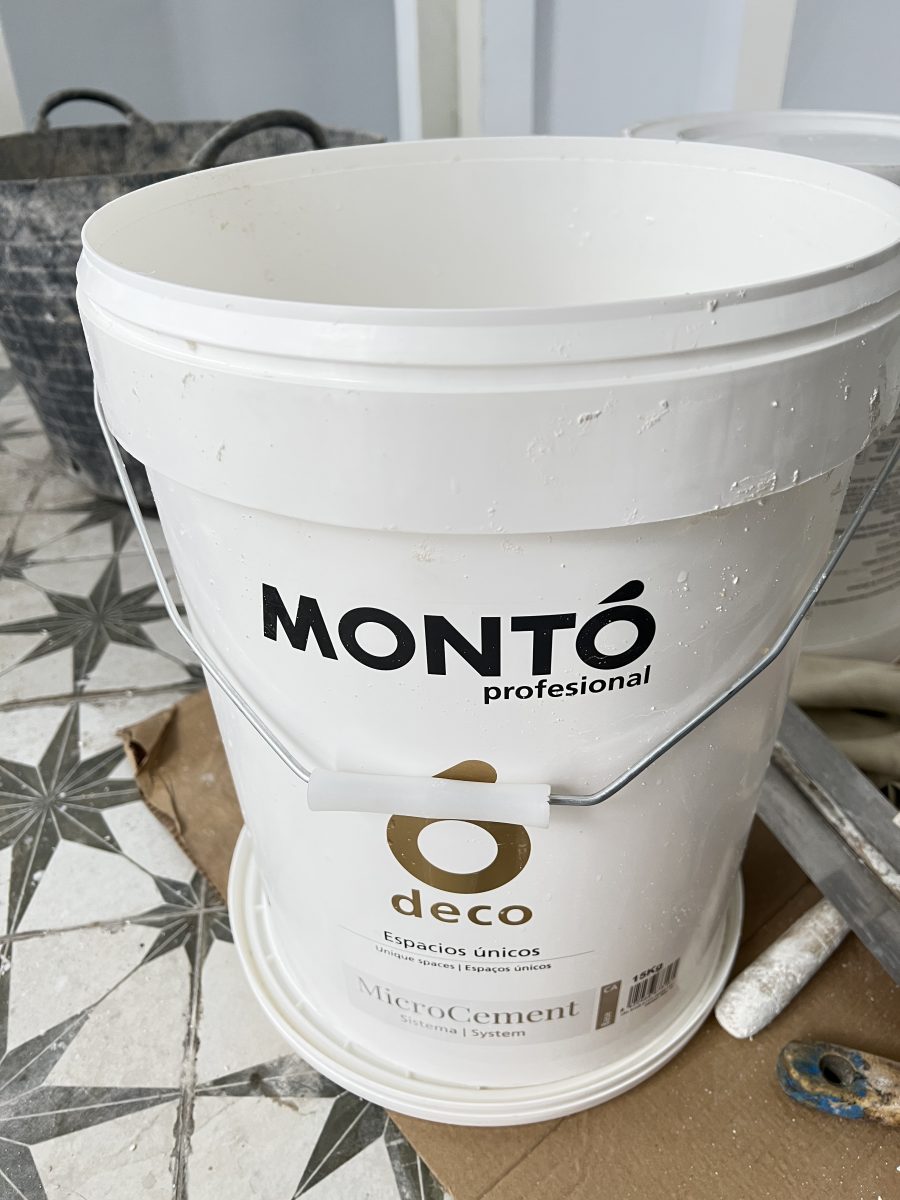
It did take a while to achieve the colour and effect, as we needed this to be right first time. Luckily, with micro-cement, you can keep sanding/applying until you get the finish you want, but I know we absolutely did our builder’s head in! However, the attention to detail was seriously worth it, as what we have now is absolutely stunning.
The During shots…
So, how is it all looking now? Well, I’m going to save that for the next kitchen blog…
0 Comments